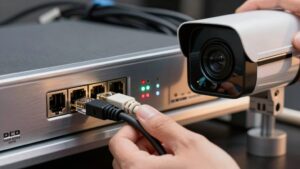
Pairing Add-On Security Cameras With a Base Station
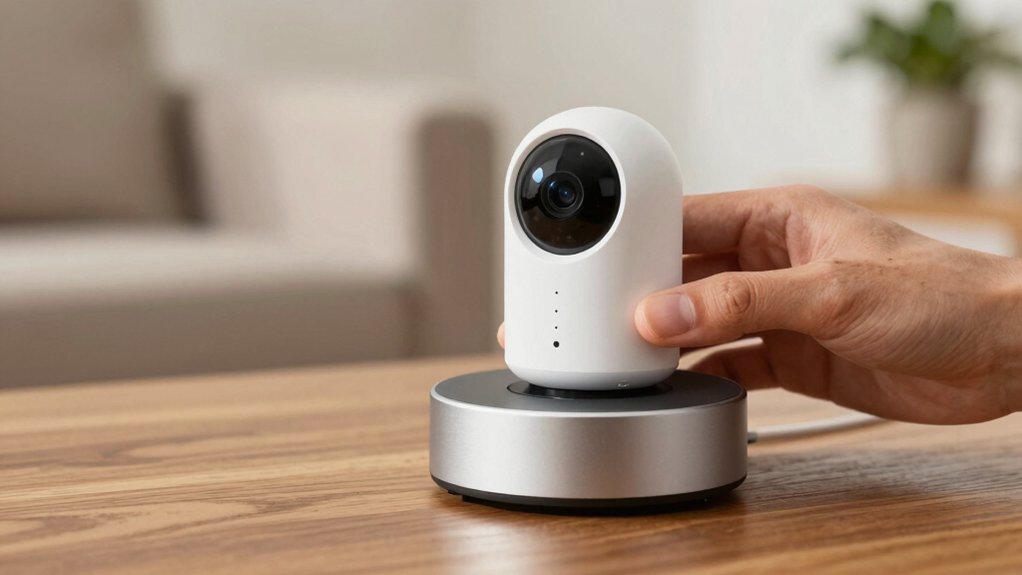
You’ll power the base station, update its firmware, then fully charge and power the add‑on camera so its LED blinks ready.
Open the Arlo app, tap Add Device → Cameras → 5S/2K, and follow the QR or manual pairing prompts. Place the camera close, press SYNC on the base and the camera’s pair/reset button, and watch LEDs for successful link confirmation.
If pairing fails, reboot devices; check firmware and range; and retry. More setup tips follow.
Pairing Add-On Security Cameras With a Base Station: You’ll power the base station, update its firmware, then fully charge and power the add‑on camera so its LED blinks ready. Open the Arlo app, tap Add Device → Cameras → 5S/2K , and follow the QR or manual pairing prompts.
Quick Overview
- Ensure the base station is powered, online, and running the latest firmware before starting camera pairing.
- Fully charge the add-on camera and place it next to the base station with a blinking blue LED indicating pairing readiness.
- Use the Arlo app: Add Device → Cameras → select your model (5S/2K); then follow QR-code or manual pairing prompts.
- Press and hold the base station SYNC button (approximately 5 seconds) and press the camera’s pair/reset button (approximately 1 second) while watching LED status lights.
- If pairing fails, reboot both devices, verify firmware and range; then retry. Confirm success by testing live view and online status.
Quick Start: Add an Arlo 5S 2K Camera in 3 Minutes
Ready to add your Arlo 5S 2K in about three minutes? Start by powering on the base station, confirming it’s within range and running the latest firmware. This reduces pairing failures and addresses security considerations. Power the 5S 2K camera and verify its LEDs blink; that will indicate it’s ready.
Open the Arlo app, tap the plus sign, choose Add Device → Cameras → 5S Pro/2K, and follow on-screen prompts to begin pairing. When prompted, hold the camera in front of the base station to scan the QR code or proceed with manual pairing. Press and hold the base station SYNC button for approximately 5 seconds to enter pairing mode. Keep devices close and wait for the app to report paired status.
Confirm both devices show paired in the app; the base station can illuminate up to four camera lights. After pairing, review device settings in the app to enforce data privacy controls, secure user accounts, and apply any recommended encryption or access restrictions.
Prepare Your Arlo 5S 2K and Base Station
Want a smooth pairing? Begin with a preparations checklist: confirm base station firmware is up to date and the Arlo app is installed on your device. Position each Arlo 5S 2K camera within effective range of the base station to ensure a stable link. Charge cameras fully before you start. Low battery can interrupt the process.
Pairing prerequisites include an active base station connection to your network and a charged camera powered on. Power the camera and watch for the blinking blue LED indicating it is searching. Keep it stationary until pairing completes. Keep the base station powered and network-stable; avoid simultaneous heavy network activity.
Do not start the Add Device flow until these steps are done. During the pairing attempt, monitor the app for success confirmation and the camera’s steady status LED. If pairing fails, reboot the base station and retry from the preparations checklist. Verify range, firmware, and battery before attempting again.
Open the Arlo App and Choose Add Device (Select 5S 2K)
How do you add your Arlo 5S 2K to the system? Open the Arlo app, go to Devices, and tap the plus sign to begin. Choose Cameras when prompted; then confirm the model as 5S 2K in the Add Device flow. Make sure the camera is powered on and displaying the expected status indicators before you proceed. The app will prompt you when to scan or hold the camera’s QR code for identification.
Follow the on-screen steps precisely. This is a device registration sequence, not an unrelated topic or unrelated concept. When you present the QR code as instructed, the app verifies the camera and informs the base station to begin detection. Wait for the app to report that the base station has detected the new camera and completed pairing.
If the app doesn’t progress, recheck power and QR alignment; then retry the Add Device procedure.
Physically Sync the Camera (Sync Button, LEDs, QR Code)
After the app confirms the 5S 2K is registered, you’ll pair it physically with the base station. For Physical sync, place the camera next to the base and power it on. Locate the base station’s Sync button and press-and-hold briefly to enter pairing mode.
On the camera, press the reset/pair button for about 1 second to initiate wireless pairing; you’ll hear a voice cue that the camera is broadcasting its wireless settings. During pairing, watch the LEDs: the camera should show a blinking blue light. The base station’s LEDs indicators will reflect discovery and then link status.
Pairing typically completes in about 10 seconds, after which the base and camera connect and corresponding LEDs illuminate to confirm success. If you use a QR code workflow, scan it in the app before physical sync so the devices share IDs.
Follow LED status precisely; a red light or “camera not found” requires restarting the sync sequence.
Troubleshooting Pairing Failures (Reboot, Firmware, Range)
If pairing fails, start by rebooting both the base station and the camera to refresh their network states. Then, retry Add Device in the app. Reboot devices to clear transient network or memory faults. Power-cycle the base and camera; wait 30 seconds, then power them back up.
Verify base station firmware is current and apply any camera firmware updates before retrying pairing: outdated firmware often blocks handshake protocols.
Keep the camera within the manufacturer’s recommended range during pairing to maintain signal strength. Move it closer if you see weak indicators. Press and hold the base station SYNC button for about 5 seconds to force pairing mode. Then, initiate Add Device in the app.
Monitor LEDs: a blinking blue indicates search in progress, while a solid red X means the camera wasn’t found. You should reattempt after confirming range and firmware. If failures persist, document LED states and firmware versions for support.
Verify Pairing, Assign Location, and Test Live Recording
Ready to confirm the camera’s connection and operation? Open the Arlo app, go to Devices, tap the plus sign, select Cameras, choose the 5S Pro series, and scan the camera’s QR code to initiate pairing with the base station.
Ensure the base station is powered and in pairing mode (hold sync until beeps/voice cue). Keep the camera powered and nearby during the pairing window.
Watch the camera’s status LED for blue blinking. If you see red or “camera not found,” reboot both devices and reattempt pairing.
After successful pairing, assign the new camera to a specific location in the app and verify its online status and Wi‑Fi strength in the device list. Test live recording by triggering a real‑time event or viewing a recent recording feed to confirm video and audio capture.
Stay focused on these steps and avoid irrelevant discussion or unrelated ideas that could distract from verification and testing procedures.
Frequently Asked Questions
Can I Use Non-Arlo Cameras With the Arlo Base Station?
No, you generally can’t use non-Arlo cameras with the Arlo base station. Base compatibility is limited to Arlo models that use the same proprietary protocol.
You can connect some ONVIF or RTSP cameras directly to certain Arlo SmartHub setups only if the hub explicitly supports those standards; however, that’s rare. You should check your base compatibility list, firmware, and Arlo documentation before attempting to add third-party cameras.
Will Pairing Affect My Existing Wi‑Fi Devices’ Performance?
Pairing generally won’t noticeably degrade your other Wi-Fi devices’ performance. Pairing influence is limited because dedicated base stations use separate bands/proprietary links, reducing Wi-Fi interference with your router.
You might see brief congestion during initial setup or if many cameras stream high bitrate over the same frequency. To minimize impact, place the base station away from the router, use wired backhaul where possible, and monitor channel overlap and signal strength.
Can I Expand Storage Using a Networked NAS Instead of the Base’s USB?
Yes, you can often use network storage (NAS) for storage expansion instead of the base’s USB, but check compatibility. You’ll configure the base to write recordings to SMB/NFS shares or via RTSP to the NAS.
Performance depends on network bandwidth, NAS write speed, and base firmware support. Ensure you use wired Gigabit connections, enable proper authentication, and verify retention, encryption, and backup settings to maintain reliability and security.
Do Add-On Cameras Keep Recording During Base Station Firmware Updates?
Yes, most add on security cameras keep recording locally during base station firmware updates; however, behavior depends on system design. You’ll want to confirm whether cameras buffer to internal storage or continue cloud uploads while the base station firmware applies.
If the base station manages recording streams centrally, updates can interrupt recording. Check vendor docs for update modes, buffering capacity, and recommended update windows to avoid gaps in footage.
How Do I Securely Transfer Paired Cameras to a New Account?
You securely transfer paired cameras by performing an account migration through the base station’s admin interface or vendor portal. You’ll revoke device links from the old account; generate transfer tokens or temporary pairing codes; and register devices under the new account while both accounts authenticate via MFA.
Verify firmware integrity, re-establish encrypted keys, and confirm cloud/edge settings. Document serials and backups. Then finalize the secure transfer and test live streams and alerts.
Conclusion
You’ve now got your Arlo 5S 2K paired with the base station and ready to record. Confirm the app shows the camera online, assign it to the correct location, and run a live-view test to verify video and motion alerts.
If pairing fails, reboot devices, update firmware, and reduce distance or interference before retrying the QR or sync-button process. Once verified, secure mounting and periodic firmware checks will keep the system reliable and protected.
Related reading: Onvif Compatibility Explained — a closer look at this topic.