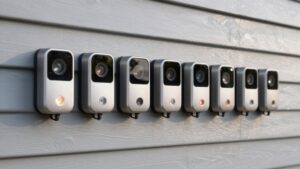
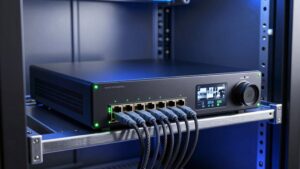
Connecting Poe Cameras to an Nvr
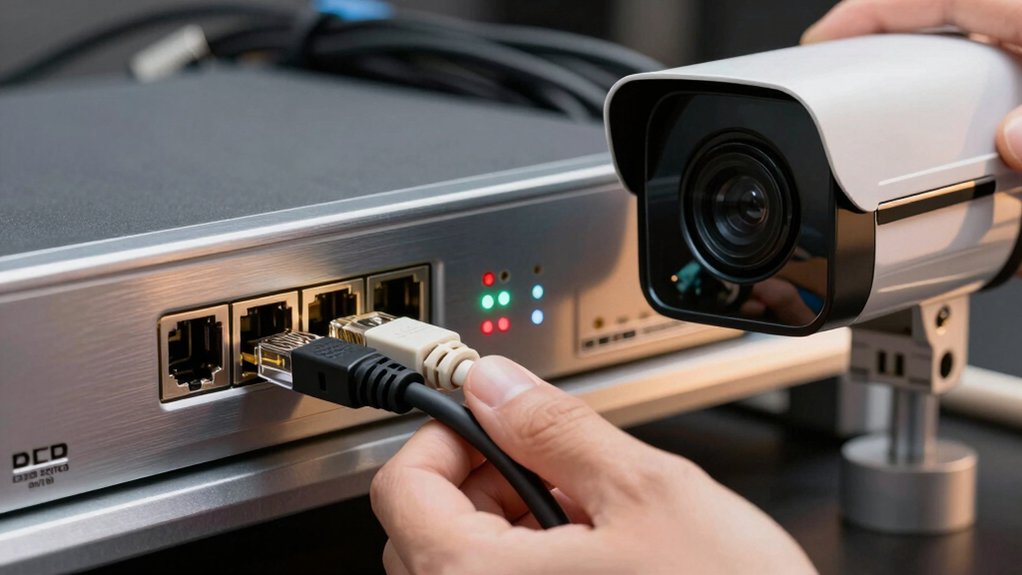
You’ll power the NVR, connect cameras to a PoE switch with labeled Ethernet runs, and plug the NVR HDMI/USB for setup. Don’t use wireless mice; verify link/activity LEDs on each camera. Leave the NVR uplink unplugged until cameras show link. Then enable Default Password or use Custom Add with correct IP, port, and protocol: set Ava Eye to private.
Assign NIC1/NIC2 subnets or DHCP. Confirm green camera status, and follow the checklist for deeper steps.
Connecting Poe Cameras to an Nvr: You’ll power the NVR, connect cameras to a PoE switch with labeled Ethernet runs, and plug the NVR HDMI/USB for setup. Don’t use wireless mice; verify link/activity LEDs on each camera. Leave the NVR uplink unplugged until cameras show link.
Quick Overview
- Power up the NVR, connect an HDMI monitor and wired USB mouse, and keep the NVR on its setup screen before adding cameras.
- Plug each PoE camera directly into the PoE switch with labeled Ethernet cables and verify link/activity LEDs on each port.
- Leave the NVR network uplink disconnected until all cameras show link. Then, plug the uplink in and refresh the camera list.
- Use the NVR Default Password feature to add cameras quickly; or use Custom Add with IP/port/credentials for manual registration.
- Configure NICs and IPs: separate subnets for PoE and management. Reserve DHCP leases and confirm green connection indicators.
Prepare Hardware and Safety Checks
Before you begin, power up the NVR and connect an HDMI monitor and a wired USB mouse (no wireless or Bluetooth) so you can navigate the setup GUI. Plug cameras directly into a PoE switch with Ethernet cables to carry power and data. Make sure you don’t confuse the RS232 port with the LAN ports; LAN1 is on top, LAN2 is on the bottom.
Inspect all cables for damage and confirm secure RJ45 termination. Use only shielded Ethernet where required by site grounding. Verify network LEDs on the NVR and switch show link/activity (amber/green) after connecting each camera. Keep power and data cable runs separate from high-voltage mains to reduce interference.
Label ports and camera IDs to avoid configuration errors later. Don’t treat cable polarity or connector seating as an unrelated topic; both affect signal integrity and device safety. Wear ESD protection when handling circuit boards and follow manufacturer torque specs for mounting hardware.
Power the NVR and Connect PoE Cameras to the Switch
With the NVR powered and the monitor and USB mouse connected, you’ll now link the PoE cameras to the PoE switch so each camera receives both power and network connectivity. After NVR boot completes, confirm the NVR remains on the setup screen.
Run Ethernet from each camera to the PoE switch, using quality RJ45 cables and firm terminations. Plug into the designated PoE switch ports; avoid RS232 ports by noting top LAN1 and bottom LAN2 labels on the switch/NVR. After seating each cable, observe the network port LEDs on the camera and switch. Amber and green activity and link indicators must light to confirm physical connectivity and power delivery.
Leave the NVR’s network uplink disconnected until all cameras show link if you prefer staged detection. Remember the NVR’s camera list will stay empty until the NVR’s network cable is connected and the devices are discoverable. Proceed only when all cameras show stable LED indications.
Detect Cameras Using the NVR Menu (Use a USB Mouse)
Using the USB mouse, right-click anywhere on the NVR display to open the main menu. Navigate to the camera section. Then plug the NVR’s Ethernet uplink in and refresh the camera list to detect any PoE cameras on the network. Use a wired USB mouse only; no wireless or Bluetooth devices are allowed.
The camera list will start blank until the uplink provides network connectivity. Verify you’ve connected to the correct LAN port: LAN1 is top, LAN2 is bottom. Do not confuse RS232 ports with LAN ports. Confirm link/activity LEDs (amber/green) show a live connection before refreshing.
After refresh, the NVR will list discovered devices; some entries may be cryptic or missing model details if they’re non-standard or from other brands. Ignore irrelevant details in auto-discovery fields and focus on IP, MAC, and protocol.
For compatibility, note cameras using the NVR’s private protocol. If a device isn’t recognized, recheck cabling, power, and switch PoE status before further troubleshooting.
Add Cameras Quickly With the Default-Password Method
Want to add multiple cameras quickly? Enable the default password in the NVR: go to More > Default Password and set it to match the camera’s configured password. Enter and confirm that default password so the NVR admin user gains permission to communicate with each camera during initial connection.
Use the NVR’s device list to locate the target camera, select it, and press the plus sign to add it using the default-password quick add workflow. Ensure each camera’s local password equals the NVR default password to avoid authentication failures during integration. After network detection, refresh the camera list if a device doesn’t appear; the refreshed list shows connected devices added via the default-password method.
This process streamlines bulk onboarding: consistent passwords plus the quick add control minimize manual credential entry and speed deployment. Verify cameras appear under connected devices and confirm video streams before finishing configuration.
If Default Password Fails: Custom Add and Private (Ava Eye) Protocol
What do you do when the NVR’s default-password quick add fails? First, enable and configure Default Password under More > Default Password to match the camera’s configured credential set. Then, reattempt admin access. If that doesn’t work, use Custom Add to manually register the camera.
Select IP address mode and enter the camera’s IP, port 80, username, and password in the Custom Add dialog. For Ava eye devices, set ONV to private (Ava eye private protocol) before confirming. Choose the appropriate protocol mode if multiple are listed. Click OK to save and initiate the connection.
After Custom Add completes, verify the camera’s status in the NVR camera list; a green indicator confirms successful connection. If the camera remains offline, recheck credentials, IP/port accuracy, and that the camera’s onboard settings permit external ONV access. Use logs to diagnose handshake or authentication failures and retry after adjustments.
Set NIC 1/NIC 2, IP, Gateway, and DHCP on the NVR
Once the cameras are added and authenticated, configure the NVR’s network interfaces so traffic routes correctly: open Menu > System > Network, select NIC 1 or NIC 2 from the dropdown, then assign a static IP, gateway, and DNS or enable DHCP for that interface. Choose NIC 1 for PoE camera VLAN and NIC 2 for backend/management to enforce network isolation and prevent cross-traffic.
For static mode, enter IP, subnet mask, gateway, and DNS precisely. For DHCP, enable the toggle to obtain settings automatically. Maintain an IP management plan: document allocation, avoid overlaps, and reserve DHCP leases for critical devices. After saving, repeat for the alternate NIC to map each segment.
Use different subnets per NIC when segmenting camera traffic. Keep configurations consistent with your router/switch routing rules and VLAN tags. This reduces broadcast domains and simplifies troubleshooting while preserving secure separation between camera and corporate networks.
| Interface | Example |
|---|---|
| NIC 1 | 192.168.10.2/24 |
| NIC 2 | 10.0.0.2/24 |
Verify PoE Camera Status (Green) and Quick Troubleshooting
Curious why a camera doesn’t show green in the NVR? Verify status by confirming the PoE power and network handshake: green means PoE is active and the device is communicating. If it’s not green, troubleshoot wiring first. Ensure the Ethernet cable is seated in the PoE switch and correct NVR PoE port, then refresh the camera list.
- Visualize a cable firmly clicked into the PoE switch port.
- Picture the NVR’s port LED and camera entry turning green after refresh.
- Imagine IP, gateway, DNS fields matching between camera and NVR or proper routing across NIC1/NIC2.
- Envision using Default Password to align credentials and successful authentication.
Also check for private-protocol cameras. Verify status in the NVR list and use Custom Add for Ava eye or non-standard devices. Confirm IP configuration and routing before deeper diagnostics.
Frequently Asked Questions
How Do I Update Camera or NVR Firmware Safely?
You update firmware safely by verifying firmware risks, downloading official releases, and scheduling update timing during low-use windows.
Back up configurations, note current versions, and ensure stable power and network. Do not interrupt the process. Apply updates to one device first to validate behavior; then roll out in batches.
Monitor logs and test functionality after each update. If issues appear, restore backups and contact vendor support immediately.
Can I Use Poe Injectors Instead of a Poe Switch?
Yes, you can use PoE injectors instead of a PoE switch, but evaluate power budget and network scalability. You’ll connect each diffuser camera to an injector that supplies power and data to the camera. This ensures compatibility challenges like voltage, IEEE 802.3af/at standards, and cable length are addressed.
Injectors suit small deployments or isolated cameras. For larger systems, prefer managed PoE switches for centralized power management, redundancy, and easier scaling.
What Recording Retention Time Should I Configure?
Set retention based on risk, storage budgeting, and legal needs: default 14–30 days for general surveillance; 30–90 days for critical areas; and 365+ days for evidentiary or compliance cases.
Calculate storage budgeting by multiplying camera count × resolution × bitrate × hours/day × retention days. Then add overhead (20%).
Use motion-only recording, lower bitrates at noncritical times, and archive important footage to longer-term storage to optimize retention vs. cost.
How Do I Secure Remote Access to the NVR?
You secure remote access by enabling VPN to tunnel into your network; disable direct NVR port forwarding. Use strong passwords for NVR accounts and any VPN user credentials; enforce complexity and rotation, and enable account lockouts.
Update firmware, disable unused services, and restrict access by IP or VLAN. Enable two-factor authentication where supported and log remote sessions. Regularly audit logs and test remote access from an external connection.
Will Cameras Work Across Different Manufacturer Brands?
Yes, cameras can work across different manufacturer brands, but you’ll face interoperability challenges. You’ll need to verify supported protocols (ONVIF, RTSP), codec compatibility, and feature parity.
Expect device discovery, authentication, and two word ideas like “firmware alignment” and “codec negotiation” to matter. Test cross branding setups before deployment; lock down credentials and confirm NVR channel limits and PoE power budgets to ensure reliable, secure operation.
Conclusion
You’ve completed setup steps to connect PoE cameras to your NVR: hardware checks, powering the NVR, connecting cameras to the PoE switch, and using the NVR menu with a USB mouse to detect devices.
Start with the default-password quick-add; if that fails, use custom add and the Private (Ava Eye) protocol. Configure NIC 1/2, IP, gateway, and DHCP on the NVR. Then confirm each camera shows green.
If not, troubleshoot cabling, PoE power, IP conflicts, and firmware mismatches.
Related reading: Choosing Nvr Channel Count — a closer look at this topic.