Poe Camera Installation Checklist
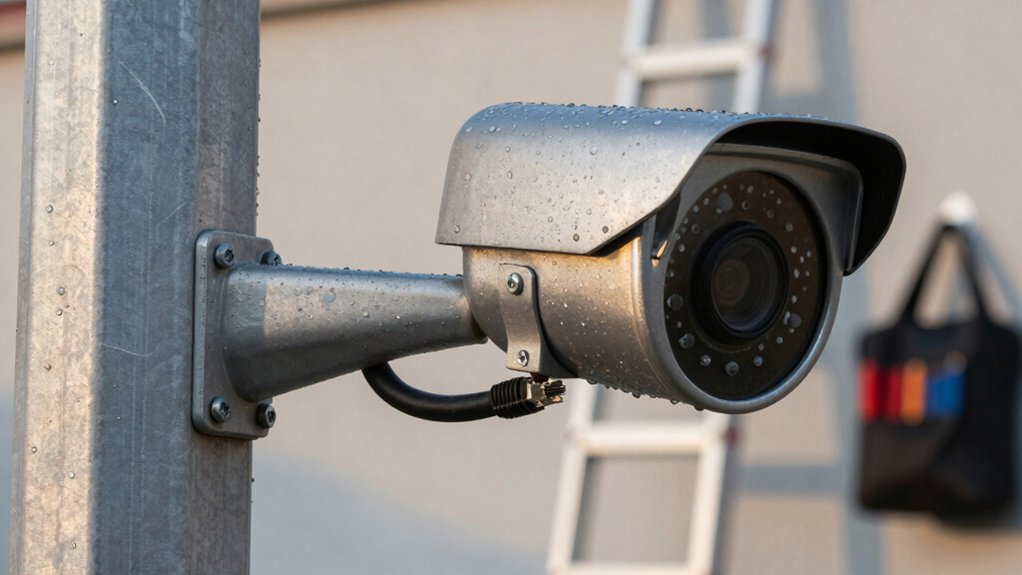
You’ll gather a PoE camera, PoE switch/injector or NVR with PoE, CAT5e/CAT6, mounting bracket, weatherproofing, and basic tools before you drill. Map camera positions at 7–10 ft with overlapping views. Check daylight and night sightlines and note obstructions.
Verify PoE standard and per-port power budget; run cables in conduit with strain relief. Set static IPs or DHCP reservations and test live feed, focus, IR, and bandwidth. Keep firmware and maintenance plans ready if you want complete setup steps.
Poe Camera Installation Checklist: You’ll gather a PoE camera , PoE switch/injector or NVR with PoE, CAT5e/CAT6 , mounting bracket, weatherproofing, and basic tools before you drill. Map camera positions at 7–10 ft with overlapping views. Check daylight and night sightlines and note obstructions.
Essential PoE Camera Checklist (What to Gather First)
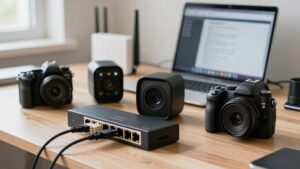
Want to get your PoE camera up and running without delays? Start by gathering the essentials: a PoE IP camera, a PoE switch or injector, an NVR, CAT5e/CAT6 Ethernet cables, and mounting accessories (bracket, screws). Verify the camera’s PoE compatibility and ensure the switch/injector supports the same standard (PoE vs. PoE+). Have a powered NVR and test monitor or viewing device ready so you can confirm live feed immediately after connection.
If cameras go outdoors, prepare outdoor-rated Ethernet and weatherproofing materials. Keep a basic toolkit—screwdriver, drill, ladder—and cable management supplies to secure neat runs and reduce strain.
Consider cost considerations up front: higher-grade cables, PoE+ switches, and weatherproofing add upfront expense but reduce maintenance. Plan basic power scheduling on the NVR or switch to limit runtime when full recording isn’t needed, saving energy and extending equipment life. This checklist gets you ready for efficient, reliable installation.
Plan Camera Placement for Full Coverage and Lighting
How will you ensure full coverage and reliable night performance? Start by identifying key surveillance areas: entrances, windows, and other vulnerable spots. Then create a site map for planning coverage. Note obstructions like walls, furniture, and landscaping that could block lines of sight.
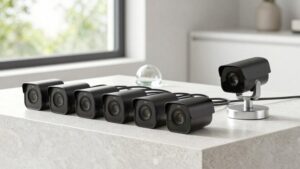
Position cameras 7 to 10 feet high to balance field of view with tamper resistance. Set angles to minimize blind spots. Use overlapping views from multiple cameras to eliminate gaps; verify each overlap on the map and adjust mounts accordingly.
For lighting optimization, survey existing illumination at dusk and night. Then orient cameras to avoid direct glare from lamps or headlights. Tilt and pan to exploit available light for night vision sensors while minimizing backlighting and reflections.
After initial placement, perform walk-through tests at night to confirm image clarity and coverage. Then refine angles and heights until you achieve consistent, glare-free surveillance across all critical areas.
Choose PoE Hardware and Cable Specs
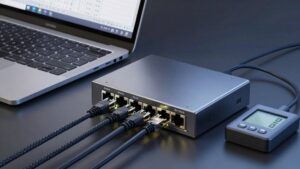
Which PoE components do you need to match your cameras’ power and data requirements? You’ll pick a PoE switch or injector rated for the camera power spec (PoE, PoE+, PoE++/4PPoE) and cables that meet cable standards for reliable IP video and distance. Match switch total power budget to simultaneous camera draw; count ports and reserve overhead.
Use CAT5e or CAT6 (shielded/unshielded as required). Choose outdoor-rated jacketing for exterior runs and protect terminations.
| Item | Recommendation |
|---|---|
| PoE standard | Match camera: PoE / PoE+ / PoE++ |
| Switch capacity | Ports + total watt budget |
| Cable type | CAT5e or CAT6 (shield if needed) |
| Outdoor use | Weatherproof camera + outdoor-rated cable |
Confirm injector compatibility for single-camera installs. Verify run lengths within cable standards to prevent power/data loss. This methodical selection minimizes downtime and ensures each camera receives correct power and data.
Mount, Wire, and Connect Your PoE Cameras (Step-by-Step)
Ready to install? Start by confirming PoE compatibility and power availability: ensure camera, PoE switch/injector, and NVR/router support the same PoE standard. Plan placement to cover entrances and vulnerable spots. Avoid blind areas and glare; aim for 7–10 ft mounting height when possible.
Temporarily mount each camera to test the field of view. Adjust angles until coverage is complete before finalizing. For mounting guidance, secure brackets firmly to the structure, align cameras precisely, and tighten fasteners to prevent drift.
Run CAT5e/CAT6 Ethernet cables from each camera to the PoE switch or NVR. Follow neat cable routing: route through protectors, notches, or conduit to minimize exposure and wear. Secure cables with clips or ties at regular intervals to prevent strain at connectors.
Route cables from the bracket into the camera housing. Then, terminate at the PoE switch/NVR. Connect network ports, verify link/activity lights, and complete final bracket tightening for a durable installation.
On-Site Testing: Live Video, Angles, and Night Vision Checks
With the cameras mounted and cabling confirmed, verify each camera’s live feed immediately to ensure it’s communicating with the NVR or monitor. During on-site testing, open each feed and confirm proper exposure and focus; adjust brightness, shutter, and focus until faces and license plates are identifiable at intended distances.
Rotate and tilt cameras from the control point to eliminate blind spots and ensure overlapping coverage of entrances and high-traffic zones. Run simultaneous multi-view to confirm adjacent angles cover gaps; fine-tune pan to maximize scene coverage without creating new blind spots.
For night vision checks, test IR or Starlight modes at typical distances (for example, 50–70 feet for an 8MP 4K camera) and evaluate clarity, contrast, and noise. Record a short clip in low light to review on a larger monitor. Document each camera’s final angle, focus setting, and any obstructions so you can replicate or revisit adjustments later.
Network Setup for PoE Cameras: IPs, Bandwidth, and Remote Access
WONDERING HOW TO KEEP PoE CAMERAS POWERED, ROUTED, AND REACHABLE WITHOUT BOTTLENECKS? START BY CONNECTING EACH CAMERA TO A PoE-ENABLED NVR OR PoE SWITCH USING CAT5e/CAT6 CABLE SO POWER AND DATA TRAVEL ON ONE RUN. CONFIRM THE CAMERA’S PoE STANDARD (802.3af/at) MATCHES THE SWITCH OR INJECTOR AND VERIFY PER-PORT POWER BUDGETS.
PLAN NETWORK BANDWIDTH CAREFULLY: CALCULATE EACH CAMERA’S BITRATE AT INTENDED RESOLUTION AND FRAME RATE, SUM THOSE VALUES, AND ENSURE THE SWITCH UPLINK AND NVR CAN HANDLE THE AGGREGATE WITHOUT LATENCY. RESERVE EXTRA CAPACITY FOR PEAKS AND FUTURE CAMERAS.
SET STABLE IP ADDRESSING—USE STATIC IPS OR DHCP RESERVATIONS TO PREVENT ADDRESS CONFLICTS AND SIMPLIFY MANAGEMENT. FOR REMOTE ACCESS, ENABLE ROUTER PORT FORWARDING OR USE THE NVR/CLOUD P2P FEATURE; APPLY ROLE-BASED ACCESS CONTROL AND STRONG CREDENTIALS. TEST REMOTE CONNECTIONS AND MONITOR LINK UTILIZATION TO CONFIRM RELIABLE, SECURE, HIGH-PERFORMANCE OPERATION.
Maintenance, Firmware, and Backup Best Practices
Now that your PoE cameras are powered, addressed, and reachable, keep them reliable by scheduling routine maintenance, firmware checks, and backups. Establish a maintenance firmware checklist: verify firmware versions manually even if automatic updates run; log changes; and apply vendor patches during maintenance windows.
Clean lenses on a regular cadence with a microfiber cloth and approved lens cleaner to preserve image clarity and prevent smudges from degrading footage. Monitor NVR behavior and storage: confirm recording schedules, retention limits, and whether the system overwrites oldest footage. Implement backup best practices: copy critical clips to a separate NAS or cloud storage, maintain at least one offsite copy, and rotate backups on a schedule that matches retention needs.
Test restores periodically. Configure and exercise motion-detection rules and real-time alerts to ensure timely notifications while tuning sensitivity to reduce false positives. Document procedures, assign responsibilities, and review the checklist quarterly to keep systems secure and recoverable.
Frequently Asked Questions
Can Poe Cameras Work in Extreme Cold or Heat Without Special Housings?
Yes, some PoE cameras can operate in extreme temperatures without special housings. However, you’ll need to check specs and housing needs carefully. Manufacturers rate cameras for operating temperature ranges; if the environment stays within those limits, you’re fine.
For very low or high extremes, choose models with built-in heaters or cooling. Use temperature-rated power injectors and cables. Plan for condensation, thermal cycling, and maintenance to ensure reliable long-term operation.
Can I Power Non-Poe Devices From a Poe Switch Safely?
No, you shouldn’t power non-PoE devices from a PoE switch unless the device is explicitly PoE-compatible or you use a certified PoE splitter/adapter. For Power Safety, verify voltage/current ratings and guarantee the splitter isolates data and power properly.
Follow Wiring Codes and local electrical regulations, ground equipment, and use surge protection. If unsure, use a dedicated power supply or consult an electrician to avoid damage, warranty loss, or safety hazards.
How Do I Hide Cables Without Violating Building Codes?
You can hide cables without violating building codes by routing them in approved conduits, raceways, or within walls where codes allow; always check local regulations. Use rated housings and keep cables away from extreme temperatures and mechanical damage.
Label and document hidden runs, maintain access panels for inspection, and avoid running low-voltage with high-voltage in the same enclosure unless permitted. When in doubt, consult an electrician or inspector before concealing.
Yes, multiple cameras can share one PoE injector, but you’ve got safety concerns to address. Ensure the injector’s total power budget matches combined camera draw. Confirm port count or use a PoE switch/splitter. Verify cable lengths and gauge to prevent voltage drop and overheating.
Protect the injector with proper ventilation, surge protection, and circuit protection. Test under full load and monitor temperatures to maintain safe, reliable operation.
Do Poe Cameras Interfere With Wireless Networks or RF Equipment?
No, PoE cameras typically won’t cause POE interference with wireless networks or RF equipment if installed properly. You should check RF compatibility by keeping cameras and antennas physically separated, using shielded cabling, and grounding equipment.
If you use non Poe Power for some units, isolate power lines to avoid shared-noise paths. Address safety concerns by following manufacturer specs, maintaining proper distances, and testing RF performance after installation to confirm no degradation.
Conclusion
You’ve gathered supplies, planned placements, and selected PoE hardware. Now finish methodically. Mount and wire each camera, verify connections, then run live-angle, focus, and night-vision tests.
Configure IPs, bandwidth limits, and secure remote access. Update firmware, schedule backups, and log settings for quick recovery. Keep a short maintenance checklist and revisit placements after a few weeks of operation.
With these steps, your PoE system will stay reliable, secure, and fully functional.
Related: Network Readiness Checklist