Monthly Security Camera Maintenance Checklist
Do a fast, methodical monthly check: verify redundancy and backup power. Confirm recordings are healthy and timestamps synced. Test remote access and firmware.
Inspect lenses and mounts for dirt, scratches, and obstructions; tighten fasteners. Run PTZ, focus, and low-light imaging tests. Trigger motion alerts and confirm notifications.
Check cables, PoE, UPS, and recorder storage health. Then clean optics with proper tools. Follow the steps below to learn how to perform each task.
Monthly Security Camera Maintenance Checklist: Do a fast, methodical monthly check : verify redundancy and backup power . Confirm recordings are healthy and timestamps synced. Test remote access and firmware. Inspect lenses and mounts for dirt, scratches, and obstructions; tighten fasteners. Run PTZ, focus, and low-light imaging tests.
Monthly CCTV Maintenance Checklist: What to Do First
Where do you start when monthly CCTV maintenance is due? First, verify system redundancy and confirm backup power and recording paths are active so failures won’t cause data loss. Next, check cables and connectors: look for wear, secure power, video, and data connections, and tighten or replace damaged components.
Review access permissions: ensure user accounts are current, passwords are strong, and remote access follows least-privilege principles. Test motion detection and alert settings by simulating events and confirming notifications reach intended recipients.
Verify storage health by checking recording status, available space, and recent footage playback to confirm recordings are intact. Update firmware and software; then reboot affected devices as needed. After updates, perform a quick playback test to validate system reliability.
Document all actions, note any anomalies, and schedule repairs or replacements for issues found. This sequence keeps the system resilient, accessible, and ready before deeper inspections.
Inspect Lenses, Mounts and Camera Views for Obstructions
Why not start by checking every camera lens for signs of dust, smudges, scratches, or other surface damage that could degrade image quality? Inspect lenses systematically: wipe with a lint-free cloth and record any scratches or persistent haze. Walk each camera’s viewing arc and look for obstructions such as leaves, cobwebs, new signage, or temporary equipment that could block the line of sight.
Verify mounts are secure at each bracket and base; tighten loose fasteners and note corrosion or cracked housings. Confirm fixed cameras retain intended angles and PTZ units return to preset positions without drift. This helps detect misalignment early. If you find vandalism or housing damage, tag the unit for immediate repair to maintain weather sealing and image integrity.
Log every action, condition found, and corrective step so you can track recurring obstructions or misalignment. Prioritize repairs before they affect surveillance coverage.
Test Camera Performance: PTZ, Focus and Low‑Light Imaging
After confirming lenses and mounts, move on to testing camera performance to ensure the images you rely on are usable. Begin PTZ testing: pan, tilt and zoom through full ranges on each unit, confirming movements are smooth, accurate and free of jitter. While zooming, perform Focus verification by checking sharpness on near and distant targets. Adjust autofocus or fine-tune focus rings until both planes are clear.
Next, assess low light imaging by capturing scenes at designated ISO settings and in near-dark conditions. Compare brightness, noise levels and color fidelity to your baseline. Evaluate image clarity and resolution across critical zones at requested frame rates, looking for blur, pixelation or distortion.
Repeat tests in multiple locations to confirm consistent exposure, white balance and color accuracy. Finally, vary lighting sources: fluorescent, LED, natural; check for flicker or artifacts and document any units that need calibration, repair or replacement.
Check Cables, Power and Recorder Storage (DVR/NVR/UPS)
Ready to verify the wiring and recording backbone? Begin by inspecting all cables and power connections for wear, fraying, or exposed conductors. Tighten connectors at cameras, PoE switches, and recorders; replace any damaged runs.
Next, verify power supplies and UPS status: confirm voltage levels match equipment specs. Test UPS battery and failover to ensure backup power engages, and log test results.
Now check recorder storage (DVR/NVR): review used versus available capacity and confirm there’s enough headroom for continuous recording. Run storage-health diagnostics, inspect RAID status and redundancy, and resolve degraded or rebuilding arrays. Test playback and archive access by retrieving recent footage from different time ranges and confirming files open without errors.
Finally, ensure clock synchronization across devices so timestamps remain consistent. Document findings, mark items needing repair, and schedule replacements or upgrades as required.
Review Motion Alerts, Time Stamps, Firmware and Remote Access
Once your wiring, power and recorder checks are complete, move on to review motion alerts, timestamps, firmware and remote access to ensure recorded events are accurate and retrievable. First, test motion alerts: trigger each camera’s detection zones, confirm notifications (email/SMS/push) arrive, and adjust sensitivity and ROI to cut false positives.
Next, verify time stamps across all cameras: sync clocks, confirm consistent date/time formats, and check recorded clips match alert times.
| Task | Quick Check |
|---|---|
| Motion alerts | Trigger zones, validate notifications |
| Time stamps | Sync clocks, confirm formats |
| Firmware | Check versions, apply patches |
| Remote access | Test secure login, 2FA/VPN/HTTPS |
Then inspect firmware versions and push updates to apply security patches. Finally, confirm remote access works: login remotely, verify encrypted connections and two-factor authentication. Ensure recorded events correspond to received alerts so you can retrieve evidence reliably.
Clean Optics and Housings Safely: Tools & Best Practices
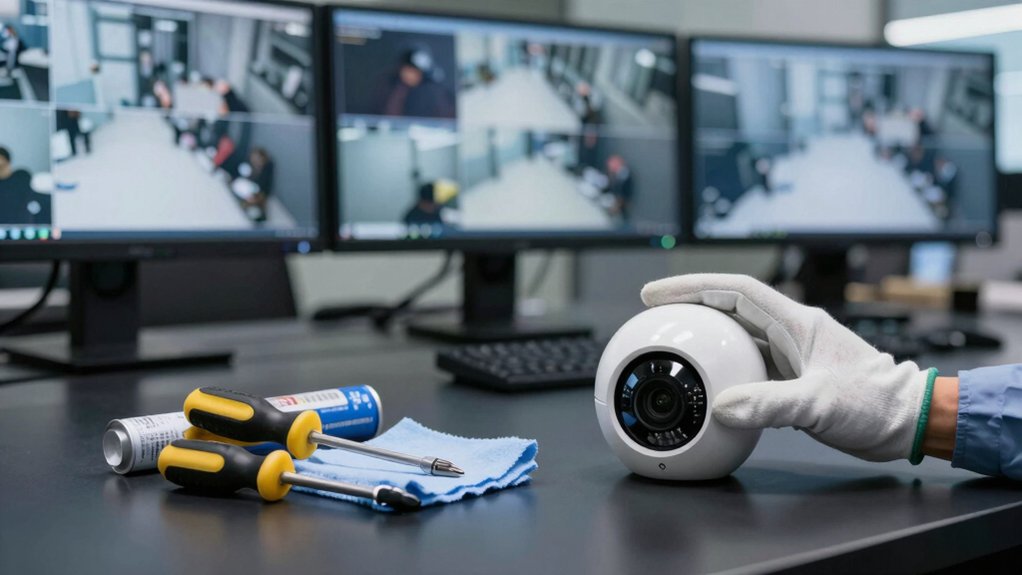
How should you clean camera optics and housings without risking damage? Start by powering down equipment and removing power sources. Use lens cleaning microfiber cloths and camera-specific cleaning solutions; apply solution to the cloth, never directly to the lens. For coatings care, blot gently with the microfiber in a circular motion from center outward. Use lens cleaning brushes for loose particles before wiping.
Clean housing exteriors monthly: remove dust, debris, and insect nests. Inspect weatherproof seals for cracks or water intrusion. Use a soft-bristled brush for crevices and compressed air in short bursts with the can upright to avoid moisture. Avoid direct spraying or household cleaners. If needed, use denatured alcohol or distilled water applied to cloth only, avoiding contacts and electronics.
Adjust frequency by environment; coastal and dusty sites need more frequent attention. Record each cleaning so you’ll track trends and maintain consistent housings safely: tools & best practices.
Document Findings, User Access and When to Escalate
Why did you last service each camera and what did you find? Record date, camera ID, lens/housing condition, cable/connectors, power/data status, storage health, time/date accuracy, firmware version, motion settings and remote access notes. Use concise entries so others can trace issues and follow escalation procedures.
| Item | Required entry |
|---|---|
| Camera ID | Serial/label |
| Issues | Lens, housing, mount, cables |
| Tests | Recording, storage, time/date |
| Actions | Firmware, access, escalate |
Log user access changes and verify permissions monthly. Note who made adjustments and why. Confirm remote access is secure. Flag any physical damage, corrupted recordings, storage below threshold, time/date errors, failed firmware updates, or suspicious access. For those, follow your escalation procedures: notify supervisor, attach logs and photos, and request technician support.
Close the loop by recording resolution date and technician ID. Keep records centralized and backed up so audits and future maintenance are efficient and accountable.
Frequently Asked Questions
How Often Should Camera Warranties and Service Contracts Be Reviewed?
You should review camera warranties and service contracts quarterly, and after any major system change. Schedule warranty reviews and service contracts checks every three months to confirm coverage, expiration, and renewal terms.
Verify integration with access controls, assess privacy law impact on data retention and vendor obligations, and document required updates. If you upgrade hardware or software, trigger an immediate review and notify stakeholders to adjust contracts and compliance measures.
Can Cameras Be Integrated With Building Access Control Systems?
Yes, you can integrate cameras with access control to improve security and response. Start by mapping required camera integration points to doors and readers. Then verify compatible protocols (ONVIF, SIA, BACnet).
Configure event triggers so door forced-open or badge-denied events prompt camera recording and live pop-ups. Test alarm linking, timestamp synchronization, and user permissions. Document settings and schedule monthly verification to ensure ongoing interoperability and log integrity.
What Is the Recommended Insurance Coverage for Surveillance Equipment Damage?
You should carry business property insurance with specific endorsements for insurance coverage of surveillance equipment damage. First, confirm your policy covers theft, vandalism, fire, water, and accidental damage to cameras and recorders.
Next, add equipment breakdown and inland marine or scheduled equipment coverage for off-site transport. Also, verify replacement-cost valuation and appropriate deductibles. Document serial numbers and maintenance logs to speed claims and prove losses to insurers.
How Do Privacy Laws Affect Camera Placement and Recording Retention?
Privacy laws limit where you place cameras and how long you keep footage. You must follow privacy compliance, ensure lawful placement away from private areas, and minimize recording retention to what’s necessary.
You’ll assess legal requirements, post notices, and restrict access. You’ll delete or securely archive footage per retention schedules. Additionally, document decisions and review policies regularly to stay compliant with evolving privacy laws and reduce legal risk.
Are There Environmentally Friendly Disposal Options for Old Cameras and Batteries?
Yes, you can dispose of old cameras and batteries eco friendly. First, remove batteries and store them safely. Second, locate certified battery recycling centers or e-waste collection events and drop off batteries separately for battery recycling.
Third, erase data and remove storage media from cameras. Fourth, bring cameras to electronics recyclers or manufacturer take-back programs. Finally, get receipts and document disposal for your records and compliance.
Conclusion
Regular monthly checks keep your CCTV system reliable and evidence-ready. Follow the checklist in order: inspect lenses and mounts, test PTZ, focus, and low-light performance. Verify cables, power, and storage; confirm motion alerts, timestamps, firmware, and remote access.
Clean optics and housings with proper tools. Document findings and user access, and note issues to escalate. Commit to this routine to reduce downtime, maintain image quality, and ensure security continuity.
Related reading: Storing Security Camera Footage Safely With Backups — a closer look at this topic.