Camera Coverage Planner Calculator Field of View Distance
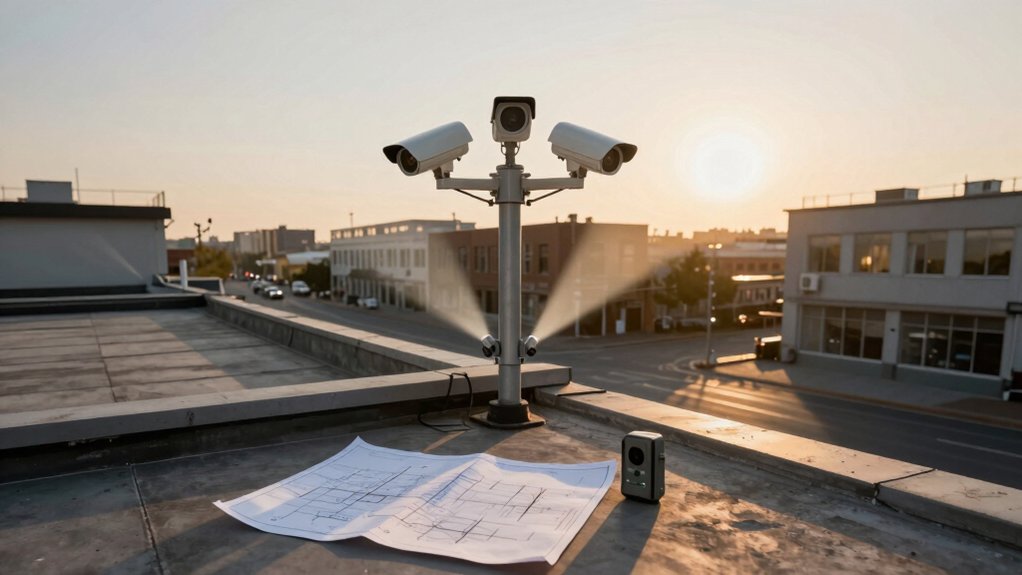
Use this planner to enter your sensor format and lens focal length. Then supply two of: distance to target, scene width, or scene height to compute the third and derive horizontal/vertical FOV.
It applies FOV = 2·arctan(sensor_dim/(2·f)); it shows HFOV/VFOV for each zoom stop. The built-in lens distortion models flag wide-angle or fisheye deviations, and a visualizer estimates real-world framing.
Continue for mounting, tilt, PPF targets, and calibration guidance.
Camera Coverage Planner Calculator Field of View Distance: Use this planner to enter your sensor format and lens focal length . Then supply two of: distance to target, scene width, or scene height to compute the third and derive horizontal/vertical FOV. It applies FOV = 2·arctan(sensor_dim/(2·f)); it shows HFOV/VFOV for each zoom stop.
Who This Camera Coverage Planner Helps (And Why)
Who needs this Camera Coverage Planner and why? You, as a security systems engineer, integrator, or site surveyor, need a precise tool to reconcile desired coverage with lens and sensor constraints. You’ll enter two of three measurements—distance, picture width, picture height—plus lens size to compute the missing value and derive horizontal and vertical FOV.
The planner handles multiple lens formats (1/4″ to 1″) and loads Commonlands lens distortion data. It flags wide-angle or fisheye deviations so you won’t rely on an irrelevant topic or unused concept when specifying optics. You’ll validate outputs, reset scenarios, and visualize distortion before committing to hardware.
This reduces field rework and ensures surveillance goals match real optical coverage; it speeds calibration workflows. Use it to convert operational requirements into concrete sensor choices and focal lengths, minimizing guesswork and ensuring deployments meet measurable coverage specifications.
How the Field of View Calculator Works : Sensor, Focal Length, Formulas
How does the Field of View calculator translate sensor and lens specs into measurable coverage? You input the active sensor dimensions and the lens focal length. The tool applies the pinhole camera formula FOV = 2 × arctan(sensor_dimension / (2 × focal_length)) to produce horizontal and vertical FOV angles.
Sensor behavior matters: the calculator uses the active area (not nominal format), selectable from presets (1/4″, 1/3″, 1″, etc.) or entered manually to ensure accurate geometry and to load appropriate distortion data. Focal length interplay is explicit; shorter focal lengths yield wider FOV, while longer ones yield narrower FOV. For zoom lenses, you provide a focal range, and the calculator outputs FOV at each setting.
When you choose a lens from the database, the system applies distortion models to adjust ideal FOV estimates. This improves practical coverage predictions. The result is precise angular coverage values that you can combine with scene measurements to determine frame size or target distance.
Quick Setup: Enter Sensor, Lens, and Two Scene Measurements to Get Distance or Frame Size
Want to get a quick distance or frame-size estimate? Use the Quick Setup: select your sensor format (1/4″, 1/3″, 1/2″, 2/3″, 1″) and enter lens focal length in millimeters. Then supply any two of three scene measurements: distance to object (ft), picture width (ft), or picture height (ft). The calculator derives the missing parameter and displays horizontal and vertical field of view.
You’ll input values in feet for distances and scene dimensions; focal length must be in mm. After you press Calculate, the tool computes the missing measurement using standard FOV geometry and reports H and V FOV alongside the result. Avoid wasting time on irrelevant subtopic lines or unused considerations; they don’t affect the numeric outcome.
This quick workflow gives a precise starting point for framing and coverage checks without delving into mounting choices, which are covered later.
Turn FOV Into Mounting Choices: Working Distance, Height, and Tilt
Having obtained HFOV and VFOV from the Quick Setup, you now convert those angles into mounting decisions: working distance, mounting height, and tilt. Use WD = W / (2 × tan(HFOV/2)) to compute working distance from desired horizontal coverage; similarly derive distance from VFOV for vertical constraints.
Select mounting height so the FOV footprint intersects the target area without creating blind spots. Required tilt equals the angular offset between the camera optical axis and the target centroid at that height. Remember that higher mounts or steeper tilts increase coverage but lower pixel density on targets and amplify perspective effects.
Account for sensor size and focal length when confirming HFOV/VFOV so the intended area fits. Apply bias correction during installation to compensate systematic aiming offsets. Inspect for lens distortion and specify correction in the imaging pipeline or choose a lens with minimal distortion to preserve metric accuracy when you calculate tilt and distance.
Refine FOV With the Real-Time Distortion Visualizer
Curious what lens distortion will do to your field of view? You’ll use the Real-Time Distortion Visualizer to refine predictions: it renders barrel or pincushion effects with a responsive distortion visualization and a clear grid overlay so you can see geometry deviation from rectilinear projection.
Select a lens from the Commonlands database and the tool auto-loads distortion parameters; it pairs them with your sensor choice to show FOV shifts, corner illumination changes, and undistortion needs. The visualizer supports fisheye models (equidistant, equisolid-angle, stereographic) so you can compare angular coverage across projections.
For production accuracy, run an OpenCV calibration workflow (standard or fisheye model) to achieve sub-pixel results. Calibrated FOVs typically match distortion-based estimates within 5%. Use the tool iteratively: adjust lens, sensor, and mount to converge on the required coverage and undistortion strategy.
- Tension of expectation versus reality
- Relief from guesswork
- Confidence in coverage
- Frustration avoided
- Precision enabled
Verify Image Quality: PPF/PPM Targets, Resolution Needs, and Pitfalls
How many pixels do you need on the subject to achieve reliable recognition or identification at the planned distance? Use PPM/PPF targets: red ≥250 PPM/76 PPF, yellow 125 PPM/38 PPF, green 62 PPM/19 PPF, with lower bands at 25 PPM/8 PPF and 12 PPM/4 PPF.
Compute required sensor resolution by combining focal length, sensor size, and distance. The planner maps pixel density across the FOV so you can see hot and weak zones.
If your target area falls in red or yellow, you meet identification thresholds. Green suits coarse recognition. Increase sensor resolution or focal length, or move the installation point to raise PPM/PPF. Remember higher focal lengths demand proportionally higher resolution to avoid under-sampling.
Avoid treating calibration and lens-undistort steps here; that’s an irrelevant topic and off topic for this section. Instead, focus on meeting PPM/PPF targets, validating the color-coded distribution, and adjusting camera parameters to close any gaps.
From Estimate to Deployment (Advanced): When to Calibrate, Use Lens Databases, and Run OpenCV Undistortion
When should you move from planning estimates to full calibration and undistortion? You move when you need sub-pixel accuracy or when reprojection error from estimates exceeds your tolerance. Calibration timing depends on target accuracy: capture 15–30 checkerboard orientations and run cv2.calibrateCamera) or cv2.fisheye.calibrate() (Kannala-Brandt for fisheye).
Use lens databases (Commonlands) to load characterized distortion data when selecting a lens; that improves FOV estimates and undistortion starting points. Choose Brown-Conrady for rectilinear [k1,k2,p1,p2,k3] or fisheye model [k1,k2,k3,k4]. Visualize distortion, inspect projection type, then compute cv2.undistort() or precompute rectification maps.
Evaluate calibrated results by reprojection error before applying undistortion to operational images. Automation: pull lens database entries, run batch calibration, and reject runs with high error.
You’ll feel confident deploying with quantified error. You’ll avoid costly miscoverage. You’ll trust lens database matches. You’ll reduce post-processing time. You’ll ensure measurement integrity.
Frequently Asked Questions
How Do Lighting and IR Affect Usable Field of View at Night?
You’ll see reduced usable field of view at night because lighting challenges and night vision limits force the camera to trade resolution for sensitivity. Low or uneven illumination creates noise, bloom, and loss of contrast at edges; this shrinks effective coverage.
IR can extend range but narrows useful FOV by causing hotspots, glare, and reduced detail on reflective surfaces. You’ll need balanced scene lighting and controlled IR power to restore reliable night coverage.
Can Audio or Microphone Placement Impact Camera Coverage Planning?
Yes, microphone placement affects camera coverage planning because it extends situational awareness beyond visuals. You’ll place microphones to capture key zones, avoid occlusion, and align audio pickup with camera framing.
Consider audio interference sources (HVAC, traffic, RF) and use directional mics, windshields, and isolation mounts. You’ll coordinate mic distance, height, and wiring routes with camera placement to ensure synchronized, low-noise audio that complements visual coverage.
What Legal/Privacy Regulations Should I Consider for Camera Placement?
You must follow privacy compliance, local data protection laws (GDPR, CCPA), and sector-specific rules when placing cameras. Ensure CCTV consent where required; post clear signage. Minimize audio capture and limit recording to necessary areas and retention periods.
Perform DPIAs; secure footage with encryption and access controls. Document lawful bases and processing purposes. Coordinate with legal counsel and privacy officers to validate compliance and handle subject access or deletion requests promptly.
How Do Wireless Transmission Limits Influence Camera Placement Distance?
You must limit camera placement so wireless transmission limits don’t exceed range or regulatory power. You’ll account for wireless interference and antenna orientation. Place cameras within tested throughput distance; avoid obstructions and use higher mounting height to improve line-of-sight while keeping signal path clear.
If range is marginal, add repeaters or switch to wired. Measure RSSI and throughput at proposed spots before final mounting.
What Maintenance Schedule Keeps Coverage and Calibration Accurate?
You should set a maintenance cadence of monthly visual checks, quarterly cleaning and firmware updates, and annual full-system inspections. Use calibration intervals every 3–6 months for sensors and after any mechanical adjustment. Perform immediate recalibration following impacts or lens changes.
Log each action, track drift metrics, and tie intervals to operational criticality; shorter intervals are needed for high-risk sites. This keeps coverage consistent and calibration precise.
Conclusion
You now know how the field-of-view calculator turns sensor size and focal length into precise scene coverage. You also understand how to convert that coverage into practical mounting choices: distance, height, tilt. Use the distortion visualizer to catch lens nonlinearity and verify image quality with PPF/PPM targets so resolution meets the task.
For deployment, add calibration, lens databases, and OpenCV undistortion when you need measurement-grade accuracy or to correct real-world optics.