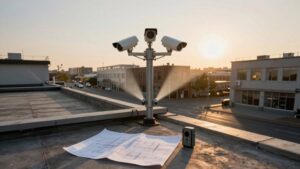
Field of View Reference for Choosing Camera Lens Angle
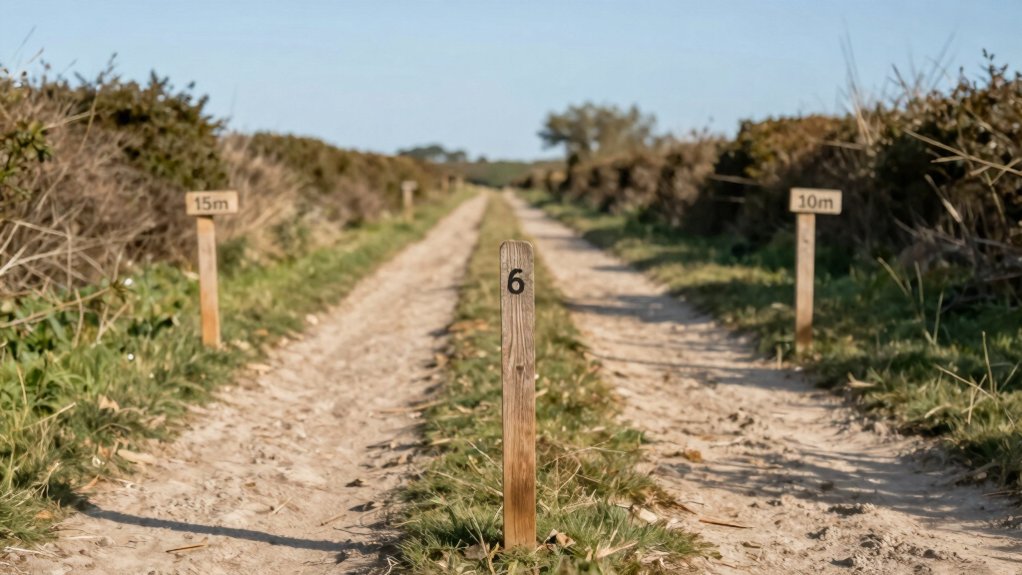
Frame the view you want, note your sensor size and measure working distance. Then translate that sketch into a focal-length target: shorter focal lengths widen the angle; longer ones compress the background. Use AFOV = 2 arctan(sensor_width/(2f)) or invert roughly f ≈ (sensor_width × distance)/target_width to pick a lens.
Watch magnification and principal‑plane shifts at close range; they bend the math. Keep going and you’ll get practical picks for each format and shoot.
Field of View Reference for Choosing Camera Lens Angle: Frame the view you want, note your sensor size and measure working distance . Then translate that sketch into a focal-length target: shorter focal lengths widen the angle; longer ones compress the background. Use AFOV = 2 arctan(sensor_width/(2f)) or invert roughly f ≈ (sensor_width × distance)/target_width to pick a lens.
Quick Pick: Choose a Focal Length in 3 Steps
Wondering how to pick a focal length fast? You’ll use a quick pick of three clear steps.
First, picture the frame you want and set the desired field of view: sketch edges against your subject so you see coverage.
Second, note sensor size and working distance: measure the sensor width H and the distance to subject (WD).
Third, calculate an approximate focal length using AFOV ≈ 2 arctan(H/(2f)) or the practical shortcut f ≈ (H × WD) / FOV to solve for f.
If you’re working with fixed-magnification optics, flip to magnification m and choose the lens where FOV = H / m matches your sketch. For a fixed subject distance, remember shorter focal length gives wider AFOV; swap in 24mm for a broader sweep than 50mm on the same format.
This sequence gets you from intent to a usable focal length quickly and visually.
How Focal Length, Sensor Size, and Working Distance Set FOV
How do focal length, sensor size, and working distance conspire to frame your subject? Picture a painter stepping back: A short focal length sweeps more scene into your frame. A long one brings the background forward. On the same sensor, AFOV widens as focal length shortens; change the sensor and everything shifts. Larger sensors give wider AFOV at the same focal; smaller sensors crop like a window, narrowing the view.
You’ll think in terms of crop factors to compare alternative formats—APS-C, CX, full-frame—so you can match angles across systems. Working distance is your choreography: Move farther and the subject subtends a smaller angle. Move closer and it dominates the frame.
Remember these are first-order rules: Distortion, lens design, and close-focus quirks bend the picture. Practical workflow ties this to capture settings and sensor color profiles. Format choice affects composition and post workflow as much as angle of view.
Use Formulas to Calculate AFOV and Approximate Focal Length
You’ve seen how focal length, sensor size, and distance set the framing. Now put numbers on that picture so you can choose a lens with confidence. Picture a rectangle (your sensor) and a cone of sight; the angular size of that cone is AFOV = 2 arctan(H/(2f)). Shrink f and the cone widens.
For quick lens picks, you can invert geometry: f ≈ (H × WD) / FOV, assuming small distortion and paraxial accuracy. That gives a first-order focal-length target from working distance and desired field height. Treat these calculations as maps, not guarantees.
Small-sensor formats reduce AFOV for the same f, so compare FX vs DX by converting to AFOV or AoV. If you work at fixed magnification m, use FOV ≈ H/m to pick focal lengths. When WD is very close or m>0.1x, distortion considerations and higher-order optics break the paraxial view. Then simulate or consult lens data for final decisions.
Examples: Focal‑Length Picks for Common Sensors and Distances
Which focal length gives the framing you need when you swap sensors or step closer to your subject? Picture shooting a portrait: on FX you reach for 50 mm and get a 39.6° horizontal sweep, a natural look with 27.0° vertical. Move to APS-C and try 55 mm to mimic that crop. It delivers roughly 24.0° horizontal, 16.1° vertical, and a 28.7° diagonal, so you’ll step or adjust slightly to match head-to-shoulders framing.
For tiny ½” sensors, a 25 mm lens produces about 25.6 mm horizontal FOV at a 0.25× magnification example. That’s useful when you can’t physically step back. Use the format-specific columns and crop-factor notes (1.0× FX, 1.5–1.6× APS-C, 2.8× CX) to read horizontal, vertical, and diagonal numbers and compare framing quickly. Don’t chase irrelevant topic tangents or off topic ideas; stay practical: read the table, pick the focal length, and test the distance.
Practical Limits: Magnification, Distortion, Principal Planes, and When to Simulate
Ever wondered why a lens that measures one focal length on paper behaves differently when you step in close? Picture yourself lowering a camera toward a coin: as magnification passes ~0.1x, the neat straight lines of paraxial formulas start to bend. Those paraxial limits were your safety rails for wide views. However, near-field shooting exposes principal planes; the focal length is measured from the rear principal plane, not the mechanical barrel. Thus, your AFOV calc drifts.
You’ll see distortion and vignetting grow; aberrations that were tiny at distance become obvious. That’s when you choose a fixed-magnification macro lens or run a Zemax-style simulation instead of trusting an online calculator. Simulations model real-world performance, predict distortion corrections needed in post-processing, and show how principal-plane shifts alter focus and framing.
In short: at short working distances or high magnification, don’t trust first-order equations alone. Plan for simulations and distortion corrections to get reliable results.
Frequently Asked Questions
How Does Lens Sharpness Vary Across the Field of View?
Lens sharpness usually falls off toward the edges as field curvature and aberrations bend focus. You’ll notice center detail first; then a softening rim. You’ll chase focus, tweak autofocus performance, and watch stabilization fight handshake that masks edge blur.
In low light, motion blur will smear details away from the sweet spot. You’ll add filters, stop down, or recompose to flatten the field and reclaim edge clarity.
What Camera Settings Minimize Motion Blur for Distant Subjects?
Use fast shutter speeds, wide apertures, and higher ISO to minimize motion blur for distant subjects. You’ll pick 1/1000s or faster if they move. Open to f/2.8 to f/5.6 to collect light, and raise ISO until exposure balances noise.
Stabilize with a tripod or monopod, track with continuous AF and burst mode, and anticipate motion so your frame and timing catch the distant subject crisply as it crosses the scene.
Which Lenses Have the Best Autofocus Performance for Sports?
You want fast autofocus for sports; professional telephoto primes and high-end zooms deliver. Imagine tracking a sprint finish: a 70-200mm f/2.8 or 300mm/400mm primes lock on instantly. Meanwhile, 100-400mm and 150-600mm sports lenses give flexible reach with quick, consistent AF.
You’ll prefer lenses with fast, accurate motors, weather sealing, and good image stabilization so you can follow action sharply from the sideline.
How Do Filters Affect Field of View and Exposure?
Filters impact your scene by altering light and contrast; they don’t change focal length so your field of view stays the same.
Picture adding a polarizer: You’ll see deeper skies and reduced reflections, but you’ll lose stops of light. This creates exposure tradeoffs that force slower shutter speeds or higher ISO.
Stack dense ND filters and you’ll dramatically dim the frame; this shapes mood while juggling those exposure tradeoffs to keep motion and noise in balance.
Can Image Stabilization Change Perceived Framing at Long Focal Lengths?
Yes, image stabilization can change perceived framing at long focal lengths. You’ll feel the scene breathe as tiny sensor or lens shifts recenter moving subjects. This tightening of composition occurs when stabilization corrects drift, and it loosens when it compensates for deliberate camera movement.
Imagine tracking a distant bird: stabilization steadying micro-vibrations keeps your subject locked in the frame. As a result, your perceived framing becomes more stable, predictable, and cinematic than handheld without it.
Conclusion
You’ve just stood at the lens board, measuring the scene like a director framing the first shot of a film. Now pick a focal length that matches your sensor and how close you’ll get. Check the field of view formula to confirm, and remember limits such as distortion and magnification.
Trust the numbers, then test in real light. When something looks off, iterate. Adjust focal length or distance, and watch the image snap into the story you intended.
Related: Camera Coverage Planner Calculator Field of View Distance