Managing Shared Access Permissions in Home Security Apps
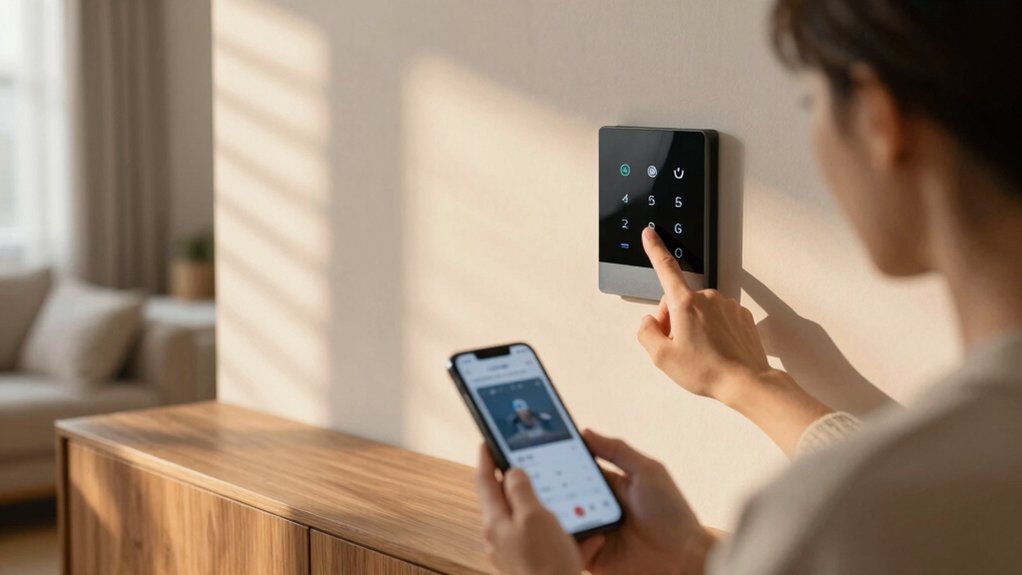
You should pick a single trusted primary account holder who’s available, technically capable, and stable (not a temporary guest) to grant or revoke access. Use device share options to add recipients by their app email and set granular permissions (view, play, control, messages). Name devices clearly, set correct time zones, and verify shares from a secondary device.
Audit the shared-users list and logs regularly. Revoke outdated access and follow recovery steps if needed. Keep going to see practical setup and troubleshooting tips.
Managing Shared Access Permissions in Home Security Apps: You should pick a single trusted primary account holder who’s available, technically capable, and stable (not a temporary guest) to grant or revoke access . Use device share options to add recipients by their app email and set granular permissions (view, play, control, messages).
Who Should Be the Primary Account?
Who should hold the primary account? You should assign the primary account to someone who’s consistently available, technically competent, and trusted to manage shared access. That person is the sole source for granting or revoking permissions; therefore, pick someone who understands the responsibility and procedures. You’ll configure sharing only from the main account’s share flow. The primary account holder must be comfortable using the app’s share options and managing recipient lists.
Choose someone whose account won’t be disabled or deleted casually, since removing the primary typically disrupts ongoing shares and forces reconfiguration. Prefer an owner or long-term occupant rather than a temporary guest. The primary account should also be able to set granular permissions for each shared user: play video, control playback, view messages, or operate the device; therefore, select someone who can evaluate appropriate roles. By centralizing control with a reliable person, you minimize interruptions and keep shared access predictable and secure.
Now that you’ve picked a reliable primary account holder, it’s time to grant and configure device permissions from that main account. You’ll open the share options beside the device’s play button and select “share devices” to share the entire NVR in DMSSS. Enter the recipient’s DMSSS email. Then tailor permissions per user: play video, video control, view video, view messages, and device control so each person only gets what they need. Permissions persist until you modify or revoke them.
- Confirm the share after setting permissions so the recipient appears in your shared users list.
- Test recipient access from their account or a secondary device. Sharing must be initiated from your main account.
- Consider device pairing scope when assigning device control to avoid unwanted access.
- Coordinate alert customization preferences with recipients to ensure relevant notifications without overload.
Manage and revoke permissions centrally to maintain control. Audit shared access regularly.
How will recipients know which device they’re accessing? Name devices clearly before sharing: use descriptive labels like “Office NVR” so the recipient immediately identifies scope. From the main account, open the device’s play button menu, choose “share devices,” and enter the recipient’s DMSSS email. Adjust permissions (play video, video control, view video, view messages, device control) to match the intended role.
Set time zones correctly on the main account and each device so timestamps in shared video and logs align with the recipient’s expectations. Mismatched time zones create confusion about when events occurred. The main account must complete the share; the recipient gains access only after the shared users list updates. After sharing, verify permissions on the main account’s shared users list and confirm access from a secondary device to ensure the share’s scope is limited to the intended NVR and devices.
This reduces accidental overexposure and keeps access auditable.
Want to be sure shared access works as intended? You should run test verification, inspect audit logs, and confirm permissions regularly. Start by having the recipient accept the share in their DMSSS account and confirm their permissions (play video, video control, view video, view messages, device control) match what you granted. Then use your main account to audit the shared users list and remove outdated or unauthorized recipients.
- Have the recipient sign in on a secondary device to verify the shared NVR appears and assigned permissions behave as expected.
- Monitor notifications and audit logs to detect when shared users view live feeds or perform controls; correlate entries with login timestamps.
- Schedule periodic re-verification (weekly or after role changes) to keep access current.
- Document discrepancies and adjust shares immediately to maintain least privilege.
You’ll catch misconfigurations early and maintain a clear, evidence-based record of who accessed what and when.
Revoke Access, Recover Accounts, and Troubleshoot Common Issues
When someone should lose access or can’t sign in, you need quick, precise steps to revoke shares, recover accounts, and diagnose common failures. To revoke access in DMSSS, open the device’s share options and remove the recipient so they lose play, control, and view permissions. If a shared user reports loss, check the main account’s shared-users list before re-sending or adjusting permissions.
To recover accounts after credential loss, use the verification-email flow: request the code, enter it to reset the password, then review sharing settings to confirm current access. When you re-issue shares, always confirm permission levels (play video, video control, view video, view messages, device control) to avoid unintended grants.
To troubleshoot common issues, verify the recipient email, test network connectivity, and check time-zone settings that can cause playback desync. Re-send invites after corrections and document changes so audits show who lost or regained access and why.
Frequently Asked Questions
You grant temporary access by creating a guest access duration, selecting start/end times or a fixed period, and choosing limited device permissions.
You’ll set notification preferences so you get alerts only for key events. Test the credentials briefly; then monitor activity and revoke access when the visit ends.
This keeps control tight, minimizes notifications, and ensures you can audit or adjust permissions quickly if anything unusual appears.
Yes, you can usually limit live view while you restrict recordings. You’ll open sharing settings, pick the guest, and toggle permissions so they get live view only. Disable playback, downloads, or timeline access to prevent viewing recordings.
Check per-device and per-user controls because some apps bundle playback with live view. Test the guest account before their visit to confirm recordings stay inaccessible. Adjust expiration or camera-specific rules as needed.
Usually shared users won’t get all alerts unless you enable shared alerting. The primary account controls most notifications. You can grant guest accessibility that lets guests see live view and receive specific motion or doorbell alerts if the app supports per-user notification toggles.
Check settings to assign which event types and schedules trigger alerts for each shared user. Test a guest profile to confirm they only receive the alerts you intended.
How Do I Transfer Primary Ownership Without Losing Settings?
You can transfer ownership without losing settings by using the app’s transfer ownership feature and selecting “preserve settings”; that migrates device configs, automations, and third party integrations impacted.
Before you transfer, set guest access during visit or live view only for shared users to maintain security. Confirm shared alerts vs primary notification roles so alerts route correctly.
After transfer, verify integrations and test automations to ensure everything functions as expected.
Yes, third-party integrations can be affected by shared permissions. You’ll see changes when integrations rely on the primary account’s security protocols; or when role changes alter API access.
Check that data encryption requirements and token scopes remain intact after permission updates. You should audit connected services, refresh tokens, and confirm integration-specific settings so encrypted data flows and automated routines continue without interruption. Act proactively to avoid downtime.
Conclusion
You’ll want one primary account to keep control and handle billing, updates, and security settings. When you grant shared access, assign clear device-level permissions so people only see what they need. Name devices, set time zones, and limit shares to specific cameras or sensors.
Test access, review logs and notifications regularly, and revoke permissions promptly when they’re no longer needed. Keep recovery options current and use troubleshooting steps to resolve connectivity or permission issues quickly.
Related reading: Security Camera and Doorbell Notifications — a closer look at this topic.