Security Camera and Doorbell Notifications for Multiple
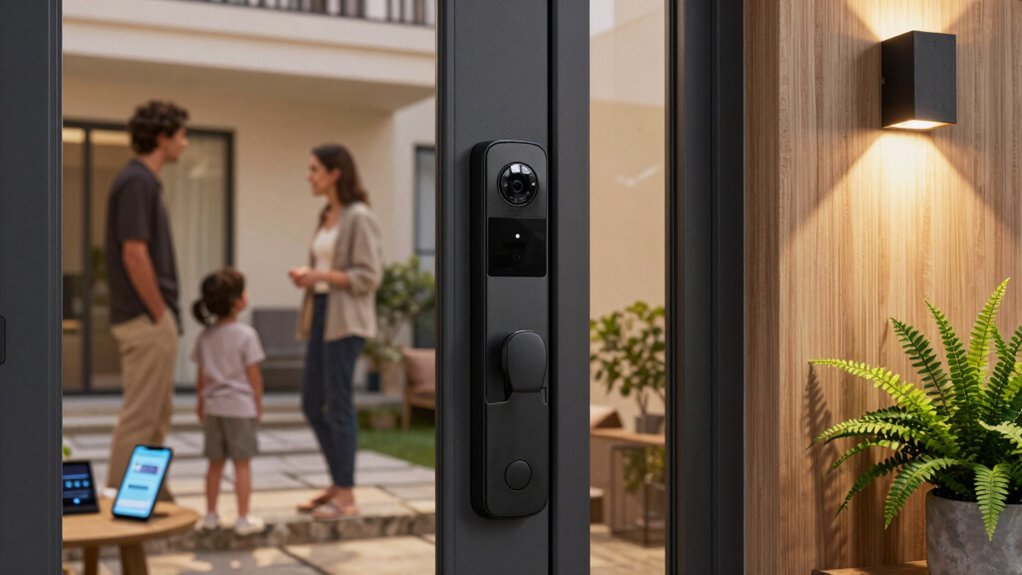
You need admin rights in the Ring app to invite others and control which cameras or doorbells they can access. Open Settings > Shared Access, add their email, and pick specific devices. Invitees must create a Ring account and accept the invite to see only the selected devices.
You can set per-user push, email, and in-app alerts and tweak device sensitivity. Regularly review or revoke access and update firmware to avoid missed notifications. Keep going to learn setup and troubleshooting steps.
Security Camera and Doorbell Notifications for Multiple Users: You need admin rights in the Ring app to invite others and control which cameras or doorbells they can access. Open Settings > Shared Access , add their email , and pick specific devices . Invitees must create a Ring account and accept the invite to see only the selected devices.
Want to share your Ring devices? First, confirm admin status: only an admin or a full-permission account can invite shared access. Open the Ring app, go to Settings, then Shared Access to start. If you don’t have Ring admin rights, you’ll need the primary account holder to grant them or send invites for you.
When you proceed, you’ll choose devices to share: either all devices or specific cameras and doorbells. Be data-driven; pick only the units necessary for each person to minimize exposure. During the invite shared flow, the app will list devices; check boxes for the ones you want included. After sending, the new user’s status shows as “invited,” and they may need to create a Ring account to accept.
Track invites so you know who has access and to which devices. Keep permissions tight: fewer shared devices reduces risk while preserving required notifications and remote monitoring.
Ready to add someone to your Ring account? You’ll need admin or full-permission rights to invite shared users. Follow these precise steps to control device access and limit privacy concerns.
- Go to Settings > Shared Access > Add user and enter the invitee’s email.
- Select which devices to grant access to; granular selection minimizes privacy concerns and exposure.
- Send the invite; the invite status displays as “invited.” If the recipient lacks a Ring account, you’ll proceed with account creation using their email.
- After they accept via the email link (Manage Access → Accept), they sign in and see only the devices you selected.
Track invitation status and document who has access so you can audit sharing. If circumstances change, perform immediate access revocation from Shared Access to remove people and restore privacy. This step-by-step flow ensures measurable control and reduces accidental over-sharing.
Invitee: Create a Ring Account & Accept the Invite
After you send the invite, the recipient needs to set up a Ring account (if they don’t already have one) and accept access from the invitation email. For invitee onboarding, they’ll either tap the invitation link or open the Ring login screen to create an account by entering name, country, email, and a password. Email verification is required before setup completes.
When the inviter sends access, the invitee gets an email with a “manage access” option. Tapping Manage shows the devices shared and lets the invitee accept specific permissions. After accepting, sign in to the Ring app to finish access verification. The app mirrors the main account flow and updates to display only the cameras and doorbells granted.
This process ensures clear, auditable invitee onboarding and access verification steps: invite sent, email received, account created/verified, manage access accepted, and Ring app reflects granted devices.
Customize Per‑User Notifications (Push, Email, In‑App)
How do you make sure each person gets the right alerts? You’ll set per user alerts so each account or guest receives push, email, and in‑app notifications tailored to their needs. Ring lets you apply device specific settings per camera or doorbell, not just at the main account level. Changes take effect after the user signs in or refreshes the app.
- Choose channel: Pick push, email, or in‑app for each user based on preference and device availability.
- Assign by device: Apply device specific settings for motion, doorbell presses, or live view starts so alerts match responsibilities.
- Adjust sensitivity: Set motion thresholds or mute for individuals to reduce false positives while preserving critical notifications.
- Verify activation: Confirm users enable push on their devices; updated profiles sync when they sign in or refresh the Ring app.
Use these data-driven controls to minimize noise. Ensure timely responses and maintain clear notification ownership across shared devices.
Troubleshoot Common Issues & Regularly Review Access
Want to stop missed alerts and stale access? Regularly review Shared Access (Settings > Shared Access) and audit permissions quarterly. Check each shared user’s status (invited vs. accepted) and confirm devices they can view to reduce privacy concerns and unauthorized viewing. Have users update the Ring app and verify Profile > Notification Settings so push, email, and in-app alerts aren’t blocked.
| Check | Action |
|---|---|
| Access status | Confirm invited/accepted |
| Notification settings | Verify per user |
| Scheduling | Check Do Not Disturb/motion schedules |
| Device groups | Ensure correct assignment |
If a user reports missed alerts, confirm app version and firmware reliability on each device; outdated firmware or app builds cause dropped notifications. Confirm devices are in the right user group and that motion schedules aren’t suppressing alerts. Revoke or adjust access for ex-household members or contractors promptly.
Track audits and changes: maintain a simple log so you can correlate changes with any notification issues.
Frequently Asked Questions
You can usually only view notifications unless you have update permissions. Shared users without those rights can’t change device settings. Check who’s granted update permissions in the app and restrict them if needed.
Use audit trails to see who viewed or modified settings. Review timestamps to confirm actions. If you need tighter control, assign role-based access, enable two-factor authentication, and periodically audit permissions and audit trails for compliance and security.
How Do I Revoke Access for a Single Device Quickly?
You remove a single device quickly by opening Devices, selecting the device, and choosing Remove Access; you’ll revoke its permissions instantly.
After removal, check delete logs to confirm related entries were purged. Review audit trails to verify who removed access and when. If your system supports it, enable automated logging and retention policies so you can track changes and prove compliance without manual checks.
Can Multiple Users Receive the Same Motion Clip Simultaneously?
Yes, you can send the same motion clip to multiple users simultaneously. You’ll set motion sharing permissions, push the clip to all listed recipients, and monitor delivery metrics to verify success.
Use latency management techniques: CDN edge delivery, parallel push, and adaptive bitrate to minimize delays and ensure synchronized viewing. Track timestamps, delivery success rates, and playback start times so you can quantify performance and adjust settings for consistent, low-latency sharing.
Yes, shared access can let you view live monitoring. However, whether it does so without alerting the owner depends on the system’s settings and permissions.
Check role-based controls and audit logs. Many platforms let you watch live video silently while owners still get motion notifications unless you enable alert silencing.
Review device-specific policies, session records, and admin options to confirm real-time viewing won’t trigger owner alerts or get logged in activity reports.
You control privacy zones and sensitive areas for shared users by assigning role-based permissions and configurable overlays. You’ll set zones per camera (no-record, blur, or mask) and tag sensitive areas so shared accounts can’t view or export footage from them.
Logs record who accessed which feed and when; this gives you audit data and configurable alerts for breaches. You can revoke or adjust access in real time to maintain compliance and minimize exposure.
Conclusion
You’ve confirmed admin rights, chosen which cameras and doorbells to share, and sent invites. Now ensure each person creates a Ring account and accepts. Customize notifications per user (push, email, in-app) so people only get relevant alerts.
If problems arise, follow the troubleshooting steps; periodically review shared access. Regular audits reduce false alerts and security risks. They keep access limited to the right users and improve notification efficiency and response times.
Related reading: Setting Privacy Zones and Motion Masking on Security — a closer look at this topic.