Dvr Setup Guide for Bnc Security Cameras
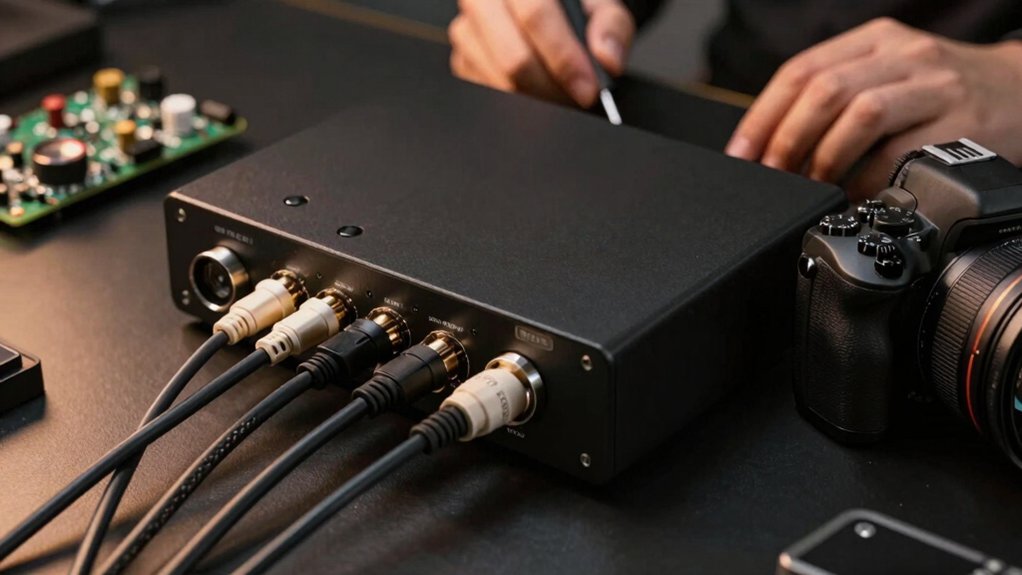
You’ll unpack the DVR, connect a monitor (HDMI/VGA) and USB mouse, then plug in power and switch the unit on. Use default admin/a1111111 to log in. Confirm auto‑detected resolution, set Date/Time and network, and attach labeled BNC and power connectors (camera male to DVR female).
Test each channel, name cameras, set recording and motion schedules, and verify playback/export. Keep going for step‑by‑step wiring, troubleshooting, and mixed‑feed configuration guidance.
Dvr Setup Guide for Bnc Security Cameras: You’ll unpack the DVR , connect a monitor (HDMI/VGA) and USB mouse, then plug in power and switch the unit on. Use default admin/a1111111 to log in. Confirm auto‑detected resolution, set Date/Time and network, and attach labeled BNC and power connectors (camera male to DVR female).
Quick Overview
- Connect each camera’s BNC video cable to the DVR’s VIDEO IN ports and secure the twist-lock connectors.
- Attach camera power leads to the correct polarity on the power supply or a powered splitter; then power-on the system.
- Use a connected monitor and mouse to log in (admin / a1111111) and set Date/Time and network in System settings.
- Name channels, set camera signal type (CVI/TVI/AHD/CVBS), and test each camera image, focus, and OSD/varifocal controls.
- Configure recording schedules, enable motion detection per channel, and verify recordings and exported clips for mixed BNC/IP setups.
Quick Start: Connect Monitor, Power, and Mouse to Your DVR
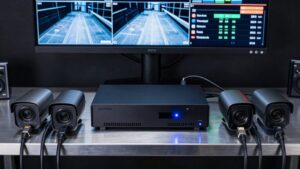
Need a quick start? Unpack the DVR and connect the monitor via HDMI or VGA. Then plug in the power supply and switch on the rear power switch to boot. Connect a USB mouse to a front or back USB port for navigation. Click the lower-left menu button to access the main menu. Use the default login (User ID: admin, Password: a1111111) after boot to enter the system.
If the display shows no video, hold the right mouse button for 5 seconds to cycle resolutions; each beep signals a change. Confirm the DVR auto-detects the monitor resolution during boot. Proceed to Settings > System to set Date/Time and Network as required.
While setting up cameras, use labeling cables and focus testing to streamline placement and troubleshooting. Labeling cables prevents confusion at the DVR. Systematic focus testing ensures clear images before final mounting.
Choose the Right DVR and BNC Cameras for Your Site
Choosing the right DVR and BNC cameras starts with matching your site’s coverage needs and future plans to the DVR’s channel count and hybrid capabilities. Pick a 2/4/8/16/32-channel Viewtron hybrid DVR based on how many cameras you need now and whether you’ll add IP cameras later. Assess coverage zones, desired resolutions (including 4K), and whether you’ll phase in IP cameras. Hybrid DVRs support Analog CCTV, AHD, HD-TVI, HD-CVI and ONVIF IP up to 4K.
For IP camera use, confirm compatibility considerations: choose ONVIF-compliant models and verify resolution limits. Decide on mixing analog and IP to balance cost and image quality; the DVR handles mixed resolutions for gradual upgrades. Evaluate storage needs per resolution and retention period.
Finally, check camera power requirements and supply method. Use local power supplies or centralized PoE for IP cameras where supported. Ensure power capacity matches camera counts to maintain reliable operation.
Identify and Use Labeled BNC and Power Cables Correctly
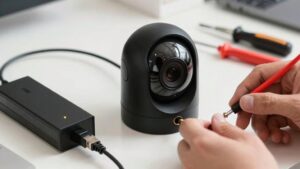
Now that you’ve matched cameras and a DVR to your site, let’s make sure each camera’s cable is identified and connected correctly. Use the labeled cables to verify which end goes to the camera and which to the DVR/power source. Each cable combines a BNC video lead and a power conductor; the camera side has a male power jack, the DVR side a female power jack. Match labels before plugging to avoid miswiring.
For orientation tips, always orient connectors so the BNC locks and the power jack seats smoothly. Do not force mismatched ends. When using a power splitter or multi-port adapter, confirm each cable’s DVR-side label aligns with the corresponding adapter output. Clear labeling speeds multi-camera setup and troubleshooting. You can trace a problem to a single labeled run rather than guessing.
Keep spare labeled cables and mark any field modifications to maintain consistent orientation. This will simplify future changes.
Wire BNC Cameras to the DVR: Step‑by‑Step
Ready to wire your cameras? Follow these precise steps to connect each labeled BNC video cable and power lead to the DVR and power source. Keep cable management and label standards in mind as you work.
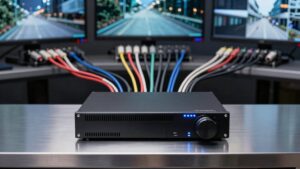
- Connect video: Plug the camera-labeled BNC to the camera, route the cable to the DVR, then insert and twist-lock the DVR end into the corresponding VIDEO IN port.
- Connect power: Attach the camera power connector to the power supply or splitter, matching labeled ends and polarity. If multiple cameras share power, use a power splitter or extension adapter with a single 5A supply.
- Verify: Power the system. Confirm each camera shows on the DVR display, and ensure stable images. If a feed is missing, recheck the BNC twist-lock, power connections, and label standards to confirm correct ports.
Finish by securing cables and organizing excess slack to maintain neat cable management and prevent accidental disconnection.
Boot the DVR and Log In (Default Credentials and Time Zone)
When you boot the DVR for the first time, enter the default credentials (User ID: admin, Password: a1111111) at the login prompt to access the main menu. Click the menu button in the lower-left corner with your mouse. Then go to System > Date and Time to set the system clock or enable network time sync and daylight saving adjustments if needed before you configure recording.
After login, confirm firmware prompts and skip any nonessential jargon or aesthetic menus that don’t affect operation. In System > Date and Time, set your local time zone and manual time if no network is available. To keep accurate timestamps, connect the DVR’s Ethernet port to your network and enable NTP time sync; set the NTP server address and sync interval. Enable daylight saving adjustments if applicable.
Save settings and verify the system clock displays the correct time in the main menu. Accurate time prevents record mismatches and simplifies incident review. Do not proceed to channel setup until the clock is correct.
Test Each Camera, Name Channels, and Verify Video
How will you confirm each camera is working before permanent mounting? You’ll test each camera on the connected monitor to verify power, video, and OSD/varifocal controls. Follow a concise checklist:
- Connect and power one camera, view live feed on the DVR, adjust focus/zoom via OSD, and confirm stable image.
- Name the channel: go to Settings > Camera > Edit Camera, tap the pencil icon, enter a descriptive name, and save. This camera naming keeps channels identifiable during review.
- Verify power and connections for each camera and check the DVR screen shows video. If you see no image, adjust Camera Signal under the camera’s CVI/CVBS settings as part of signal troubleshooting before remounting.
Test every camera individually. Ensure cables are intact and confirm each displays correctly on the DVR. Only after successful verification should you finalize mounting and cable management.
Troubleshoot Common Issues (No Video, B/W Feed, Signal Type)
Now that each camera is tested and named, troubleshoot any common feed problems before you finalize mounting. If you see no video, cycle monitor resolutions: right-click for 5 seconds and listen for beeps to confirm detection. Ensure the monitor input matches the DVR during boot.
If a channel shows a grayscale feed, open Camera Settings → Camera Signal and confirm the camera signal type (CVI vs CVBS). HD-CVI cameras often go grayscale when the wrong mode is selected. Verify each BNC input is set to the correct signal type (AHD, TVI, CVI, or CVBS) in the DVR’s signal options.
If a feed remains black, swap to a different monitor and re-seat the BNC and power cables to rule out cable or power issues. After changes, re-test the channel on the DVR to confirm you now have color video and a stable camera feed before finalizing the installation.
Configure Recording, Motion, and Verify Playback/Export
Start by opening the DVR’s main menu and selecting Record to set your recording mode, schedule, and duration. The default is Auto, but you can change manual lengths for specific events or periods. Access each camera’s recording tab to choose mode (Auto, Continuous, or Manual) and set schedules and clip lengths. Enable motion detection per camera; adjust motion settings for sensitivity and detection zones. Ensure motion events map to the correct recording channel.
- Configure schedules and manual lengths: assign continuous or event-based blocks and reduce overlap to save storage.
- Tune motion settings: draw detection zones, set sensitivity, and test triggers so only valid motion creates recordings.
- Verify playback and complete export workflow: select date/time, review footage, choose range and format, start export to USB or network, and confirm file integrity before removing media.
Finish by testing triggered recordings and exported clips to validate your configuration.
Mix or Upgrade: Adding IP, AHD, TVI, and 4K Cameras to a Hybrid DVR
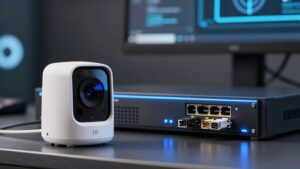
Want to combine high-resolution IP cameras with existing HD BNC gear? You can. Viewtron hybrid iDVR-PRO units provide mix compatibility, accepting ONVIF IP cameras alongside AHD, HD-TVI, and HD-CVI inputs.
Plan channel counts first: 2, 4, 8, 16, or 32-channel packages let you allocate IP or BNC per your site needs. Add IP cameras up to 4K/8MP; the DVR handles them alongside lower-resolution BNC lines without special converters.
Use the DVR’s camera setup to assign resolutions and enable 4K scaling where supported. This ensures each stream matches bandwidth and storage targets. Balance recording rates: higher-resolution IP channels need more storage and bitrates than HD-CVI/AHD/TVI channels.
Order mixed kits or request a custom quote to match channel mix and retention. During install, verify each camera’s ONVIF profile, set correct resolutions per channel, and test playback/export to confirm mixed feeds record and play back reliably.
Frequently Asked Questions
How Do I Ground the DVR and Camera System Safely?
You ground the DVR and cameras by connecting their chassis to a common earth ground using short, heavy-gauge copper conductors. Attach to the building ground rod or grounding bus. Use surge protectors, bond coax shields, and install lightning arrestors.
Follow grounding best practices, safety considerations, and local code. Turn power off before work, wear PPE, and verify continuity with a multimeter. Tighten connections and seal outdoors against corrosion.
Can I Use Poe Injectors With BNC Analog Cameras?
No, you can’t use PoE injectors with true analog BNC cameras because they don’t accept power over Ethernet. You’ll need separate power supplies or baluns that combine power and video over coax as useful alternatives.
Consider upgrading to HD-over-coax or IP cameras if you want PoE. Sticking with analog is increasingly an outdated technology. If mixing systems, use proper converters and verify voltage, polarity, and grounding to avoid damage.
What Cable Types and Lengths Affect Image Quality?
You’ll find cable quality and gauge directly affect image quality: thicker 18 AWG coax holds signal better over long runs than thinner 22–24 AWG. For distances under 100–200 feet, RG59 suffices. Beyond that, use RG6 or consider video baluns with twisted pair.
Shielded vs. unshielded matters in noisy environments; choose shielded to reduce interference. Also watch connectors and grounding: poor terminations degrade images more than slight cable length increases.
How Do I Secure Remote Access Without Exposing Ports?
Use a VPN or a cloud relay to get secure remote access without exposing ports. You’ll set up a VPN server (or use a router-integrated one), authenticate clients, and route DVR traffic through the encrypted tunnel.
Or enable the vendor’s cloud relay or peer-to-peer service to avoid port forwarding alternatives. Harden accounts with strong passwords, two-factor auth, and firmware updates.
Log and monitor connections, and restrict access by IP or user role.
Are There Legal Notice Requirements for Surveillance Cameras?
Yes, you usually must post legal notices when surveillance records private areas or public access points. Requirements vary by jurisdiction. You should check local laws, post clear signs, and inform occupants to address privacy concerns and reduce civil liabilities.
Keep records of notices, retention policies, and access controls. When in doubt, consult an attorney to verify signage wording, data handling, and compliance steps. This way, you’re legally protected and transparent.
Conclusion
You’ve now connected your monitor, power, and mouse. You have chosen compatible DVR and BNC cameras and labeled and wired each feed to the correct input. Boot the DVR, log in, set the time zone, test every channel, name cameras, and confirm live video.
Configure recording and motion settings. Verify playback and export, and troubleshoot common issues. If needed, add hybrid or upgraded cameras carefully to match signal types. Follow each step methodically to ensure reliable surveillance.
Related reading: Dvr No Video Signal Troubleshooting — a closer look at this topic.