Security Camera Wifi Keeps Disconnecting Troubleshooting
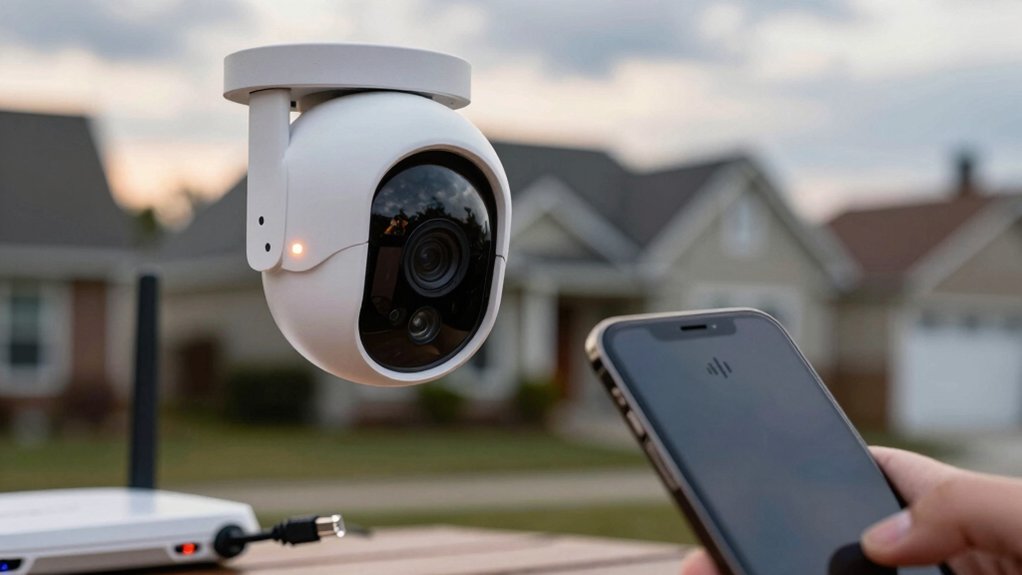
If your security camera keeps dropping Wi-Fi, start with quick checks: Move it closer to the router or add an extender. Reboot devices, run a SpeedTest, and lower camera resolution if upload is under ~5 Mbps. Confirm it’s on the correct SSID/band, update firmware, and test on a mobile hotspot to isolate local Wi-Fi versus camera faults.
If disconnects persist, try a factory reset, assign a reserved static IP, or switch to PoE. More systematic diagnostics follow.
Security Camera Wifi Keeps Disconnecting Troubleshooting: If your security camera keeps dropping Wi-Fi, start with quick checks : Move it closer to the router or add an extender. Reboot devices , run a SpeedTest, and lower camera resolution if upload is under ~5 Mbps. Confirm it’s on the correct SSID/band, update firmware, and test on a mobile hotspot to isolate local Wi-Fi versus camera faults.
Quick Overview
- Move the camera closer to the router or add a Wi‑Fi extender (NETGEAR EX6120/TP‑Link N300) to fix weak signals.
- Run SpeedTest; if upload <5 Mbps for multiple cameras, lower resolution or upgrade your internet plan.
- Update firmware on camera and router. Then reboot or factory-reset the camera if instability continues.
- Test the camera on a mobile hotspot to determine if the problem is local Wi‑Fi or the camera itself.
- If wireless issues persist, hardwire with PoE or assign a static IP/reservation. Consider replacing faulty hardware.
Quick Fixes to Get Your Security Camera Online Right Now
Need it back online fast? Move the camera closer to the router or place a NETGEAR EX6120 or TP‑Link N300 extender between them to increase signal strength. Run SpeedTest to verify internet speed; if upload is under 5 Mbps and you have multiple cameras, lower resolution or upgrade your plan.
Switch the camera to the least congested band and select a single SSID per band (2.4 GHz vs 5 GHz) to reduce interference. Update firmware on both camera and router, then reboot each device to apply patches and stabilize connections. If connections remain unstable, factory-reset the camera, confirm WPA2 security and correct IP mode (DHCP vs static), and test the camera on a different router to isolate device versus network faults.
These quick fixes follow a sequence: signal, bandwidth, channel, software, and isolation. Apply them methodically to restore reliable operation and measure resulting internet speed after each change.
Diagnose the Problem: Security Camera, Wi‑Fi, or ISP
After you’ve tried the quick fixes: signal boost, channel changes, firmware updates, and isolation, it’s time to systematically determine whether the camera itself, your Wi‑Fi network, or the ISP is causing the disconnects. Start with a proof of concept: connect the camera to a known-good network (mobile hotspot) to see if disconnects persist. If stable, the issue is local Wi‑Fi; if not, suspect the camera firmware or hardware.
Use data migration of recordings/settings before tests that reset devices.
| Test | Targeted Component | Expected Outcome |
|---|---|---|
| Hotspot connect | Camera | Stable = Wi‑Fi issue; unstable = camera |
| Multiple-device ping | Wi‑Fi/bandwidth | High latency = saturation |
| Router config check | Router settings | Firewall/MAC/DHCP blocking identified |
| Other devices check | ISP | All offline = ISP outage |
Log timestamps, packet loss, and reboot events. Isolate variables: run single-camera tests. Then reintroduce devices. Escalate to ISP only after confirming local network and camera stability.
Fix Wi‑Fi: Signal, Channel, and Bandwidth Tweaks
When you’re troubleshooting disconnects, focus first on signal strength, channel congestion, and available upload bandwidth: each can independently break a camera’s stream. Move the camera nearer to the router or install a Wi‑Fi extender (NETGEAR EX6120, TP‑Link N300) to eliminate dead zones. Document RSSI and SNR before and after to verify signal optimization. If cabling is feasible, prefer PoE to remove wireless variables.
Next, inspect channel congestion. Split SSIDs for 2.4 GHz and 5 GHz so the camera associates predictably. On 2.4 GHz, manually select a less congested channel based on a spectrum scan. Reduce transmit power only if overlap causes interference.
Perform bandwidth planning: run SpeedTest to confirm sufficient upload capacity. Monitor concurrent device usage. If upload is constrained, lower camera bitrate or resolution to match measured upload throughput. Log changes and retest for stability; iterate until disconnect events cease.
Fix the Camera: Firmware, Power, IP Settings, and Vendor Tools
How should you approach camera-side failures? Start methodically: verify firmware stability by checking for updates and installing the vendor release, which typically takes 2–3 minutes. Updated firmware often removes connectivity bugs; document the firmware version before and after the update.
Next, confirm power reliability. Test the adapter under load, inspect connectors, and consider redundant power or a small UPS to eliminate brownouts that drop the camera offline.
Then, validate IP settings. Use the camera client software to examine the network mode; switch from DHCP to a Static IP if needed and reserve that address on the router so the device consistently communicates. If IP conflicts or mismatches persist, perform a factory reset and manually reconfigure SSID, encryption, and IP to avoid problematic auto-assignments.
Finally, employ vendor tools such as client apps and logs to monitor uptime and error codes. Collect logs pre- and post-change to confirm the fix and restore stable operation.
When to Hardwire, Replace Equipment, or Call a Pro
Wondering whether to hardwire, swap gear, or call a pro? Hardwire via PoE when wireless stability stays poor after basic fixes. It gives deterministic power and Ethernet, eliminating Wi‑Fi variability. Do a network comparison: test the camera on an alternate router to isolate device vs. network issues.
If multiple devices or high bandwidth use cause drops, first adjust bandwidth or lower camera resolution before committing to a hardware upgrade.
- Test camera on different router to separate network vs. camera failure.
- Temporarily lower resolution or increase Internet bandwidth to reduce load.
- Hardwire with PoE for persistent wireless instability.
- Replace camera or router when logs show repeated DHCP/association failures.
If firmware updates and reboots don’t clear disconnects and logs reveal repeated DHCP or CPU/memory spikes, plan a hardware upgrade.
Call a professional when persistent offline behavior continues after replacing cables, power supplies, and swapping devices. They’ll perform deeper diagnostics and remedial actions.
Frequently Asked Questions
Does VPN on My Phone Affect Camera Live View Reliability?
Yes, a VPN can affect live view reliability. You’ll see VPN impact when encryption and tunneling add latency, packet loss, or route changes that interrupt the camera stream.
Test with the VPN off, then back on while monitoring latency, jitter, and reconnects. Apply phone network tweaks: prefer Wi-Fi over cellular, disable aggressive battery or app background limits, and use split tunneling so camera traffic bypasses the VPN for stable streaming.
Yes, you can share one PoE injector only if its power budget and ports match your cameras. You’ll need to verify total camera power draw against the injector’s wattage and ensure each port supplies the correct PoE class.
Use quality Ethernet cabling and short runs to preserve ethernet reliability. If demand exceeds the injector or you need VLAN or managed features, deploy a PoE switch or separate injectors for stable camera power and network performance.
Are Cloud Recordings Encrypted End-To-End?
Yes, many providers offer cloud encryption and end-to-end options; however, implementations vary. You’ll confirm whether recordings are encrypted in transit (TLS) and at rest (AES). Additionally, check whether keys are managed end to end or by the provider. If keys stay with you, true end-to-end encryption prevents provider access.
Review the provider’s security whitepaper, encryption algorithms, key management, and independent audits to verify their claims before trusting sensitive footage.
Will Mesh Wi‑Fi Automatically Prioritize Security Cameras?
No, mesh Wi‑Fi won’t automatically prioritize security cameras; you’ll need to configure QoS or device prioritization manually. Mesh networking can improve coverage and reduce drops. However, it treats devices equally unless you set rules.
You can also use powerline adapters to create wired backhaul or dedicated links for cameras, which avoids wireless contention. Check your mesh controller for per‑device QoS, band steering, and VLAN settings to guarantee consistent camera bandwidth.
Do Smart Home Automations Cause Camera Disconnects?
Yes, you can cause disconnects. You’ll trigger two word discussion ideas like “automation timing” and “network load” when Smart Home routines flood traffic or reboot hubs.
Check for Network Interference from overlapping schedules, multicast storms, or frequent device polling. Isolate automations, stagger triggers, and monitor packet rates and Wi-Fi channel utilization. If problems persist, audit hub firmware, reduce simultaneous device actions, and enforce QoS for camera streams.
Conclusion
You’ve walked through quick fixes, diagnosis steps, Wi‑Fi optimizations, camera-side remedies, and escalation choices. Now act: verify which component fails, apply the targeted fix (signal/channel tweaks, firmware update, stable power/IP), and retest.
If intermittent issues persist, hardwire the camera or swap suspected faulty gear before calling your ISP or a technician. Keep logs of tests and changes so future troubleshooting is faster and root causes are clear.
Related reading: Nvr Not Detecting Ip Camera Troubleshooting — a closer look at this topic.