Home Security Camera Coverage Checklist
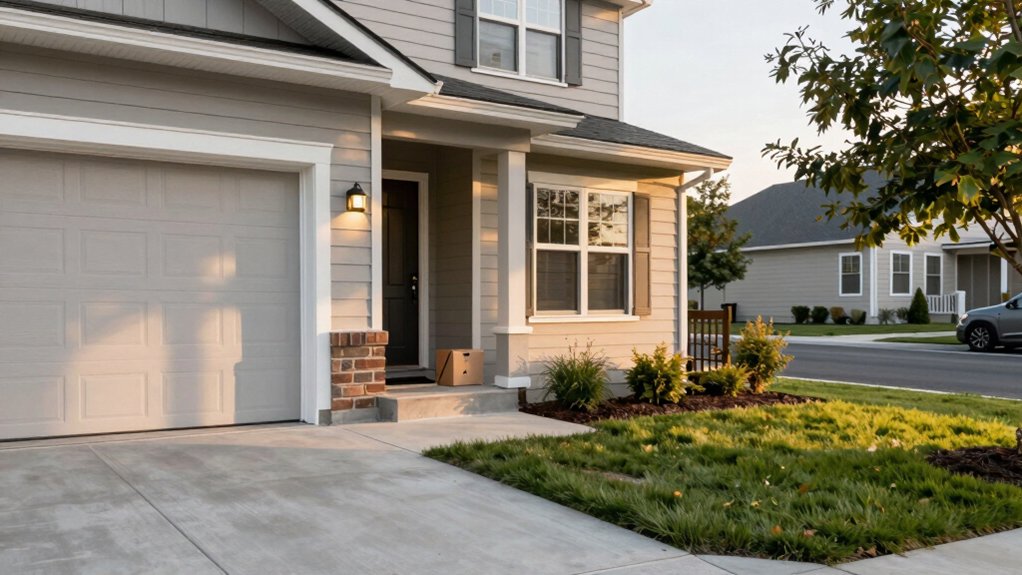
Start by mapping every entry, driveway, parking spot, cash/utility area, and major aisle so you capture approach vectors and high-value targets. Choose PoE IP cameras with IR or WDR and match lenses: wide for yards, varifocal or PTZ for driveways. Prioritize AI detection to cut false alerts.
Calculate NVR storage from bitrate × hours. Run Cat5e/Cat6 in conduit with lightning protection, and isolate the camera subnet with VPN and strong creds. Keep going to learn specific placement, wiring, and retention math.
Home Security Camera Coverage Checklist: Start by mapping every entry, driveway, parking spot, cash/utility area, and major aisle so you capture approach vectors and high-value targets. Choose PoE IP cameras with IR or WDR and match lenses: wide for yards, varifocal or PTZ for driveways.
Map Critical Coverage Zones for Wired Security Cameras
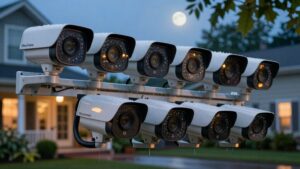
Where should you place wired security cameras to get reliable, actionable coverage? Start by mapping critical entrances, parking areas, cash registers, and major aisles so you capture likely approach vectors and high-value targets. Place cameras to cover perimeter fences with overlapping fields of view to eliminate blind spots and provide continuous tracking between sensors.
For open zones like parking areas and wide yards, plan wide-angle mounts. For distant gates or long driveways, consider PTZ or varifocal heads to zoom and follow movement. Note irrigation zones when routing cables; avoid sprinkler trajectories and use waterproof conduit where necessary.
Assess lighting conditions at each mounting point and select IR or WDR-capable units for low-light or high-contrast scenes to preserve usable images. Use PoE IP devices to run power and data over a single cable. Label each run during installation for easier maintenance, and choose IP67/IK10-rated housings for outdoor durability and vandal resistance.
Choose Wired Cameras, Lenses & AI Features (And Count Cameras)
Why pick one camera type over another? You should choose wired Poe Cameras to simplify power and data over a single cable, cut installation clutter, and ensure steady feeds. Match lenses to coverage: fixed wide lenses cover broad areas; motorized varifocal lenses let you fine-tune focal length during setup; PTZ lenses handle distant monitoring and active zoom control.
Select resolution targets (4MP, 5MP, or 4K Ultra HD) to balance image detail with bandwidth. Prioritize strong IR night vision (target 30–200 ft) and Smart IR to prevent overexposure on close objects. Look for cameras with on-board AI features: people, vehicle, and package detection reduce false alerts and focus recording on meaningful events.
Count cameras by entry point plus 1–2 indoor cameras for main living spaces. Leave spare channels for expansion. Record choices and placement so your camera count and capabilities meet coverage goals without unnecessary overlap.
Plan Recording: NVR Size, Retention & Storage Calculations
How long do you need to keep footage, and how will that drive your NVR size and configuration? You’ll base planning NVR size on retention calculations tied to resolution, frame rate, and recording mode (continuous, motion-triggered, or AI-based).
Pick AI or motion-triggered to cut storage needs if you can; choose continuous if you need every second.
Calculate per-camera daily storage (bitrate × hours) and multiply by retention length. For long retention (example: 1,460 days), that drives large drives or RAID arrays. Include storage planning for remote access without subscription so web/mobile viewing stays local and cost-free.
Ensure the NVR has enough PoE ports and expansion considerations (hot-swap bays or expansion chassis) to grow past 16 channels without replacement.
| Mode | Avg bitrate | Retention impact |
|---|---|---|
| AI/motion | Low | Saves space |
| Continuous | High | Needs more drives |
Document assumptions, run the math, and size the NVR and disks to avoid overwriting crucial footage.
Wiring & PoE Installation Checklist (Cable Runs, Conduit, Lightning Protection)
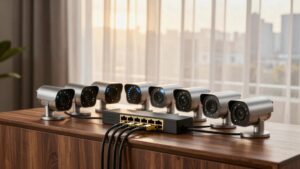
Now that you’ve sized your NVR and worked out retention, plan the physical layer: run Cat5e/Cat6 for each PoE camera (up to ~300 ft per run), label both ends clearly, and route cables through conduit for any outdoor or exposed runs. Include lightning protection at service entry points. Use Cat5e/Cat6 so data and power travel on the same cable. For installations over 16 channels, place PoE switches where cable lengths terminate to centralize power and simplify management.
Mark cable IDs, camera IDs, and patch-panel ports to speed troubleshooting and upgrades. Map conduit paths to minimize bends and keep low-voltage runs separate from mains. At exterior entry points, install surge protectors and bonded grounding to limit lightning-induced transients. Verify each run with continuity and PoE testers. Then perform a 24-hour pre-deployment run to confirm connectivity and stable feeds.
Consider power isolation for individual cameras or switch ports to reduce fault domains and ease maintenance without affecting the whole system.
Secure Network, Alerts, Access Roles & Future Expansion
Want to keep your camera feeds private and manageable? Secure your network first: segment cameras on a separate subnet, enable a VPN or firewall for remote access, change all default passwords, and enable automatic firmware updates to reduce vulnerabilities.
Define access roles: create distinct admin and staff access roles with clear permissions so only authorized people can view or change camera settings. Set alert rules for motion, tampering, and offline devices; test notifications to your phone and email.
| Item | Recommendation | Reason |
|---|---|---|
| Network | Separate subnet + firewall/VPN | Limits lateral access |
| Credentials | Change defaults + auto-updates | Reduces exploits |
| Access roles | Admin vs staff permissions | Controls who configures |
| Alerts | Motion/tamper/heartbeat | Immediate response |
| Expansion | Spare NVR channels, scalable PoE | Easy future camera adds |
Plan ahead: leave spare NVR channels and scalable PoE switches so you can expand without redoing wiring or infrastructure.
Frequently Asked Questions
How Do I Avoid Recording Neighbors or Public Areas and Respect Privacy Laws?
Point cameras onto your property; avoid public sidewalks and angle lenses downward so you do not capture neighbors. Check local laws for privacy compliance and post visible notices if required. Get written consent before recording anyone on private property.
Use motion zones and masking features to exclude adjacent yards. Set short retention periods; encrypt footage and document lawful recording practices. Regularly review settings to stay compliant and respectful.
Can Battery-Powered Cameras Supplement Wired Coverage in Remote Spots?
Yes, you can use battery powered cameras to supplement wired coverage in remote coverage gaps. You’ll place battery units where running power is impractical; choose low-power models; and set motion schedules to extend life.
Use solar panels or quick-change batteries for long deployments. Ensure strong wireless links or mesh repeaters, and integrate camera feeds into your central system so you get consistent alerts, storage, and uniform settings across wired and wireless zones.
What Camera Features Help Prevent Vandalism or Tampering?
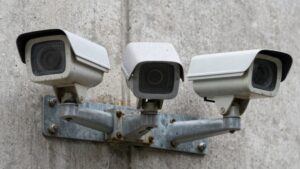
You’ll want rugged housings, metal mounts, and anti-tamper screws for camera tamper prevention. Additionally, you should consider recessed or dome designs that hide lens orientation for vandalism deterrence. Use impact-resistant glass and tamper alarms that notify you if the device is moved.
Also, secure cabling or wireless redundancy helps prevent cut lines. Night vision, motion-based recording, and visible signage also discourage attackers while ensuring reliable evidence if tampering occurs.
How Do I Integrate Doorbell Cameras With the Main NVR System?
You connect your doorbell camera to the main NVR by confirming doorbell integration and NVR compatibility first. Check protocols (ONVIF/RTSP) and update firmware. Assign a unique IP.
Add the doorbell as a camera in the NVR’s device list; configure recording schedules and motion zones. Test live view and alerts. If the doorbell is cloud-only, use an intermediary gateway or replace it with an NVR-compatible model for full integration.
Are There Tax Incentives or Insurance Discounts for Installing Cameras?
Yes, you can get tax incentives or insurance discounts for installing cameras, but it varies. You should check federal and state tax incentives and local programs. Homeowners insurance often offers discounts for verified security systems.
Also, verify privacy laws about recording neighbors or public areas to avoid fines that could negate savings. Keep receipts, serial numbers, and system documentation to claim incentives and provide proof to your insurer for discount eligibility.
Conclusion
You’ve mapped critical zones, picked the right wired cameras, lenses and AI features, and counted exactly How Many units you need. You’ve planned NVR size, retention and storage; you’ve nailed wiring details like cable runs, conduit and lightning protection. You’ve secured the network, set alert and access roles, and left room for expansion.
With this checklist, you’ll install a reliable, maintainable system that actually protects your home and grows with your needs.