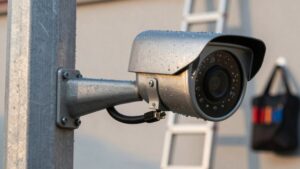
How Many Security Cameras Do I Need for My House
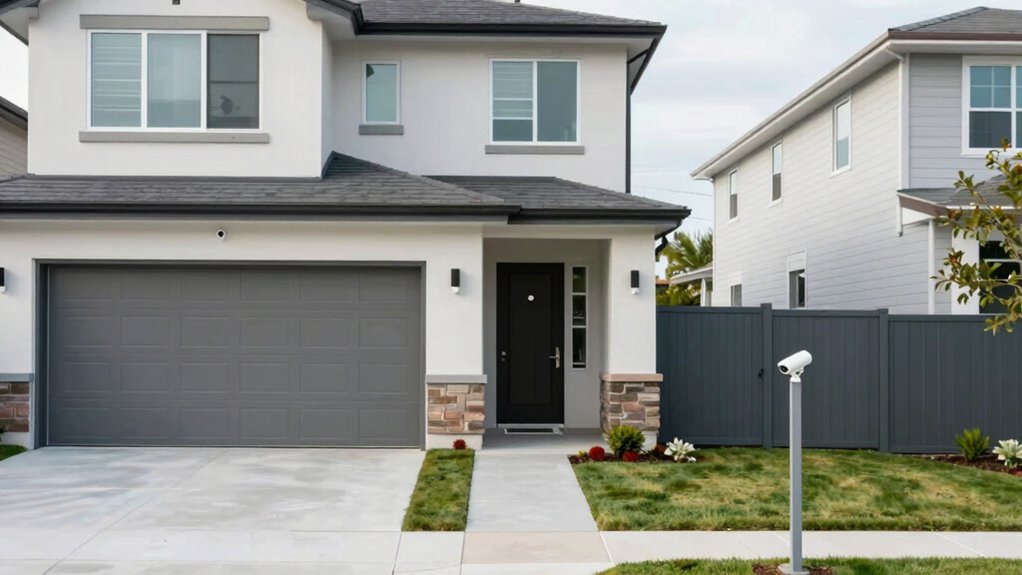
You’ll typically need two to four outdoor cameras and one or two indoors, aiming for one camera per main entry plus coverage over the driveway, garage, and a central common room.
For smaller homes or apartments, plan 2 to 3 focused units. Larger properties often need six or more to avoid blind spots. Use wired for permanent runs and wireless for flexible spots.
Start with entry coverage and overlap angles. Keep going to see placement, types, and budget trade-offs.
How Many Security Cameras Do I Need for My House: You’ll typically need two to four outdoor cameras and one or two indoors , aiming for one camera per main entry plus coverage over the driveway, garage, and a central common room. For smaller homes or apartments, plan 2 to 3 focused units.
Quick Overview
- Cover every entry (front, back, side doors) with at least one camera to capture faces and comings and goings.
- Aim for one camera per ~500 sq ft; reduce count by ~20% if using wide-angle lenses.
- Place outdoor cameras over the driveway, garage, and detached structures to monitor vehicles and access points.
- Install one indoor camera in a main common room. Add units for high-traffic hallways or stairwells.
- Choose wired for stable, long-term feeds and wireless for flexible placement. Combine both for a balanced system.
Quick Answer: How Many Security Cameras Do You Need?
Wondering how many cameras you actually need? You’ll usually be fine with a quick answer: most homes need two to four outdoor cameras and one or two indoor cameras. Think in terms of entry coverage; assign one camera per entry and at least one inside in main common areas.
For smaller properties like apartments, plan on 2–3 cameras. Larger homes can require six or more for full coverage.
Use a practical checklist: note property size, your budget, local crime rates, and desired deterrence level. Prioritize flexibility so you can add cameras later. When discussing placement with a pro or DIYing, bring two word discussion ideas like “entry count” and “coverage overlap” to keep the planning focused.
This gives you clear, scalable guidance without overcommitting. You will have enough cameras to cover key points now, and room to expand as needs change.
Priority Areas: Front Door, Back/Side Doors, Garage, Yard, Main Rooms
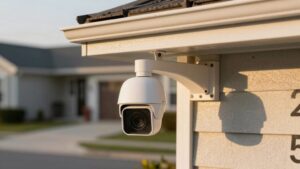
Which spots should get cameras first? Start with every entry: one focused on the front door and one on the back door, plus any side doors, to capture faces and comings and goings. Place outdoor cameras over the garage and driveway to watch vehicles, tools, and access points; these complement porch coverage and catch approach angles.
Indoors, mount a camera in a main common room—living room or family room—to monitor daily activity and deter intruders. Add units in high-traffic hallways or stairwells to prevent blind spots and track movement between floors. For small homes, that usually means two to four outdoor cameras and one indoor camera. Larger homes need extra units covering yard corners and expanded interior zones.
Aim cameras to minimize glare and ensure clear facial views at entry height. Use overlapping fields to eliminate gaps, prioritize clear evidence capture, and balance coverage with budget so you’re secure without overinstalling.
Estimate Cameras by Size: 1 Per 500 Sq Ft + Calculator
How many cameras does your home really need? Start with a simple baseline: one camera per 500 sq ft. Use the calculator usage to convert your square footage into a starting count. Then tweak for layout and priorities.
| Rule | Effect | Action |
|---|---|---|
| 1 per 500 sq ft | Baseline count | Divide total sq ft by 500 |
| Wide-angle | ~20% fewer cams | Select wide-angle option |
| PTZ | +1 per PTZ | Add if remote control needed |
Apply two word discussion ideas like “coverage overlap” and “placement priority” when reviewing results. The calculator can adjust totals for wide-angle, zoom, or PTZ choices. Wide-angle often reduces cameras; PTZ typically adds one to allow pan/zoom.
For a quick estimate and layout review, run the calculator. Then call support at 888-653-2288 if you want a second opinion. You’ll get a clear, practical count without overbuying.
Wired vs Wireless Cameras: When to Use Each and Placement Tips
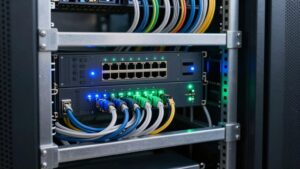
When deciding between wired and wireless cameras, think about stability and placement priorities: wired systems give you a steady power and data connection that’s better for long-term, high-traffic coverage (main hallways, common areas, and large properties). Wireless cameras offer flexible placement and easier install; they are ideal for front doors, small yards, or spot coverage where running cable is impractical. You’ll choose based on coverage needs, network reliability, and battery life tradeoffs.
Use wired vs wireless strategically:
- Wired: prioritize main hallways, common areas, and driveways for uninterrupted feeds and fewer maintenance visits.
- Wireless (battery or plug-in): place at front doors, side entries, and detached structures where cabling is difficult.
- Hybrid: combine both to balance stability and flexibility.
Install wired systems where outages are an acceptable risk; manage this carefully. Monitor battery levels on wireless units regularly. For outdoor placement, cover all entry points and the driveway. For indoors, focus on traffic paths. This approach keeps monitoring reliable and manageable.
Typical Camera Counts & Budget: DIY vs Pro Install and Brand Tradeoffs
Wondering how many cameras you actually need and what they’ll cost? Most homes need two to four outdoor cameras and one or two indoor cameras. Smaller properties or apartments often get by with 2–3 cameras focused on primary entry points, living areas, and hallways. Larger properties require more to cover multiple entry points, driveways, yards, and high-traffic interior zones. Use the quick planning rule: one camera per entry point plus indoor coverage for main living areas.
When budgeting, weigh DIY vs pro install. DIY saves on labor and suits standard camera placement and basic two word discussion ideas like “cover zones.” However, pro install ensures optimal angles, wiring, and integration for complex layouts. Higher budgets buy better resolution, night vision, and broad coverage. Limited budgets prioritize key areas and essential models. Factor local crime rates into your mix and choose brands offering reliable firmware updates and support for long-term security.
Frequently Asked Questions
Do Cameras Record During Power or Internet Outages?
Yes, if you set things up right. You’ll need battery backup or a UPS for outdoor power losses and cameras that support local recording (SD card or NVR) so they keep saving footage during internet outages.
Choose models with wifi resilience or wired alternatives; enable local storage plus cloud sync when connection returns. Test backups regularly, keep batteries charged, and document failover procedures so you won’t be caught off guard.
Can Cameras Capture Clear License Plates at Night?
Yes, you can capture clear license plates at night if you pick the right gear. You will want high resolution, good night visibility (IR or low-light sensors), and cameras with adjustable exposure and selective IR to avoid bloom from headlights.
Enable motion detection to trigger higher-frame captures and shorter exposure for sharp plates. Mount cameras low and angled toward plates; reduce glare and test in real conditions to confirm consistent, readable results.
Are Cloud Recordings Compliant With Privacy Laws?
Yes, cloud recordings can be privacy compliant if you follow rules and document practices. You’ll choose providers with strong encryption, clear access controls, and explicit privacy compliance terms.
Set a defined data retention schedule, minimize captured personal data, and get consent where required. Regularly audit logs, update policies, and guarantee cross-border storage meets local laws. That practical approach keeps your recordings secure, lawful, and defensible.
What Maintenance Schedule Keeps Cameras Reliable?
You should run monthly maintenance schedules and weekly reliability checks to keep cameras dependable. Inspect lenses, housings, mounts, and power connections. Test live feeds and motion alerts. Update firmware quarterly.
Review storage options monthly: ensure overwrites, expand capacity, or trim footage as needed. Enforce data security with strong passwords, two-factor authentication, encrypted backups, and access logs. Document each task; that will keep the system reliable and give you confidence.
Can Cameras Integrate With Smart-Home Assistants?
Yes, you can integrate cameras with smart-home assistants. You’ll check camera compatibility first: look for Alexa, Google, or HomeKit support. Then, enable the camera’s skill or add-on in your assistant’s app. You’ll gain voice control integration for live view, basic commands, and routines.
Test commands, secure accounts with strong passwords and two-factor auth, and keep firmware updated so integrations stay reliable and privacy-safe.
Conclusion
You don’t need perfection; just coverage of priorities. Start with cameras on your front door, back/side doors, garage, and main yard. Then add one per ~500 sq ft inside for key rooms.
Choose wired for reliability on long-term installs or high-traffic areas. Pick wireless for easy DIY and flexible spots. Balance DIY cameras for budget and pro installs for complex setups.
With this plan, you’ll get clear, consistent coverage without overspending.