Poe Security Camera Installation Steps
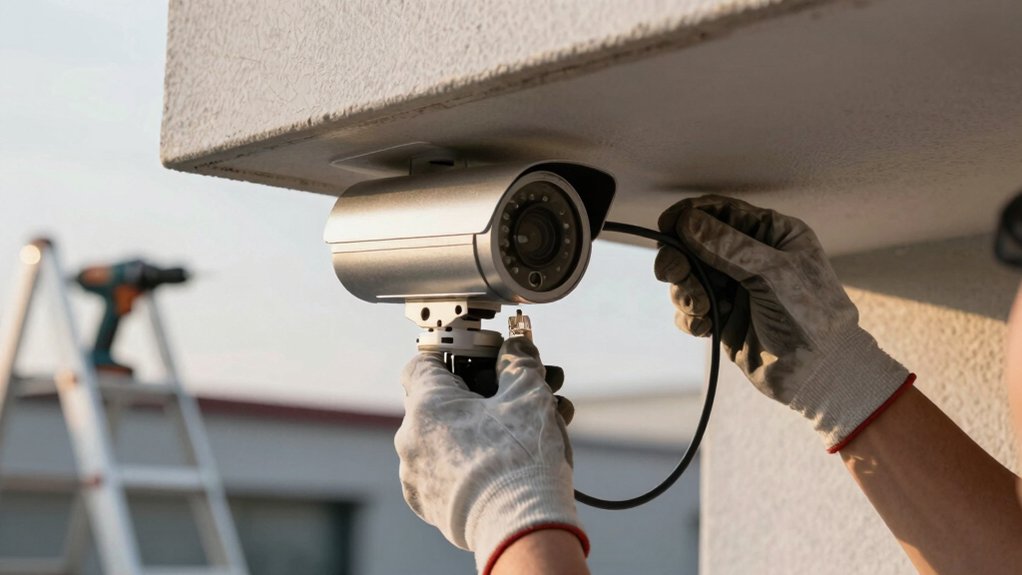
You’ll plan 6–8 Poe Cameras, pick an 8‑channel NVR near your router, and map routes before cutting.
Run CAT5e/6 to each PoE port, secure and label cables, weather-seal penetrations, and mount cameras 10–15 ft for overlapping coverage.
Terminate RJ45 pairs correctly, verify IPs, enable recording schedules and motion alerts, then test live views and mobile access.
Follow safe attic practices and two-person lifts.
Keep documentation for repeatable setups; continue for full step-by-step guidance.
Poe Security Camera Installation Steps: You’ll plan 6–8 PoE cameras , pick an 8‑channel NVR near your router, and map routes before cutting. Run CAT5e/6 to each PoE port, secure and label cables, weather-seal penetrations, and mount cameras 10–15 ft for overlapping coverage. Terminate RJ45 pairs correctly, verify IPs, enable recording schedules and motion alerts, then test live views and mobile access.
Quick Overview
- Plan camera locations (10–15 ft, overlapping fields, cover all entry points) and map cable routes before cutting holes.
- Run CAT5e/6 PoE cables from each camera to an 8-channel NVR; secure and label both ends.
- Mount cameras with appropriate anchors. Tighten to spec, weather-seal penetrations, and avoid glare or blind spots.
- Connect cameras to NVR. Power up, verify IPs, assign channel names, and enable recording schedules and motion alerts.
- Test live view, adjust focus and angle, and confirm motion-triggered clips. Document camera IDs and enable secure remote access.
Goal & Quick Checklist: 6–8 PoE Cameras, Tools, Time
Wondering how to tackle a single-day PoE camera install for a typical home? You’ll aim for 6–8 PoE cameras (two front entry points, two back, two sides) tied to an 8-channel NVR. Start with a concise checklist: PoE NVR, PoE cameras, Cat5e/6, RJ45 connectors or pass-throughs, crimper, fish tape, 1″ circle bit, drill, zip ties, work lights, HDMI monitor, router/switch access, and screwdrivers.
Plan routes from the NVR to cameras before cutting holes; prefer concealment behind walls, soffits, or furniture. Mark attic paths with glow-in-the-dark aids. A two-person crew should handle attic runs and exterior mounts in one day if you stay organized.
Place the NVR near your router for internet and remote-view setup. Power the monitor for local configuration. Stay safety-minded: use proper lighting, ladder protocols, and avoid distractions. Irrelevant topic or random chatter can slow the job and increase risk.
Map Camera Locations: Front, Back, Sides, Entry Points
How should you place each camera to get complete, usable coverage? You’ll plan 6–8 cameras: two front (garage, front door), two back, one per side. Mount at 10–15 feet on soffits, angled to capture entry points without glare. Aim cameras to minimize blind spots at corners and likely attack angles. Verify fields overlap slightly for continuous camera coverage.
| Location | Height | Purpose |
|---|---|---|
| Front door | 10–15 ft | Clear facial ID, deter tampering |
| Garage | 10–15 ft | Vehicle access, secondary entry |
| Back door(s) | 10–15 ft | Backyard access, package area |
| Sides/gates | 10–15 ft | Flank coverage, approach paths |
Use PoE cameras tied to an 8-channel NVR; route cables down walls and hide behind the NVR or furniture to reduce exposure. Test daytime and nighttime angles, adjust to eliminate reflections, and confirm all primary entry points remain within view for reliable incident review.
Choose NVR Placement and Plan Ethernet Routes
Where will you put the NVR so cable runs stay short and the unit stays cool and secure? Choosing NVR placement begins with a central location that has reliable power and ventilation. Position the unit to minimize longest runs to cameras and keep it in a locked cabinet or closet to prevent tampering and overheating.
Planning Ethernet routes means mapping straight, shortest paths from the NVR to each camera; this avoids high-traffic zones and electrical interference. Use attic or wall cavities to conceal runs. Drill passage holes between 1″ and 1.5″ to protect surfaces. Reserve dedicated routes that accommodate 6–8 cameras and assign each camera to a specific PoE port on the NVR.
Label both ends of every cable and create a simple port-to-camera diagram. For attic pulls, work with a partner and ensure stable ladder use, adequate lighting, and continuous communication during cable runs to reduce risk and maintain efficiency.
Cables & Connectors for PoE Cameras (CAT5e/CAT6, RJ45)
With your NVR location and cable pathways planned, pick the right cabling and connectors so power and data reach each camera reliably. You’ll use CAT5e or CAT6 with RJ45 connectors; PoE carries power and data over the same pair, so you eliminate separate power runs. Choose CAT5e for standard cameras and CAT6 if you need higher throughput or better interference resistance for longer runs.
Consider pre-made lengths for simple installs or 500/1000 ft spools for professional runs. Good cable length planning avoids excess tension and voltage drop.
- Select cable type: CAT5e for 1 Gbps, CAT6 for higher performance and noise rejection.
- Use pass-through RJ45s if you want to trim to exact runs and verify conductor order.
- Maintain T568A or T568B color order; untwist only as needed and trim excess flush.
- Use proper termination tools and a crimping tool to secure connections at both ends.
Prep Holes, Fish Tape, and Attic Safety for Runs
Want to keep your attic runs safe and organized? Start by planning cable routing: confirm exit points, map paths to each camera, and label every run for easier termination. Drill prep holes with a 1-inch circle bit, keeping holes between 1 and 1.5 inches to preserve framing integrity.
Work in pairs for attic safety. Ensure proper attic lighting before you enter and keep a clear path to the NVR area. Use glow tape or glow-in-the-dark fish tape to mark and follow routes in low light. This speeds locating runs and reduces trip risk. Fish from the attic down the wall toward the NVR while maintaining gentle bends and avoiding insulation where possible.
Manage cables as you fish. Keep them organized, avoid sharp edges at hole exits, and verify each exit point aligns with your planned camera location. Communicate continuously with your partner and pause if conditions feel unsafe.
Run PoE Camera Cables and Hide Routes (Zip Ties, Clips)
Start by running each Cat5e/6 PoE cable from the camera location back to the NVR. Keep exterior passthrough holes between 1 and 1.5 inches and avoid sharp bends or kinks. Use glow-in-the-dark fish tape or glow sticks to trace runs in dim areas. Maintain gentle radii as you pull. Route cables through the attic routing plan you prepared. Use a partner for safety and to hold ladders or feed lines.
- Secure attic runs with clip fasteners at regular intervals to prevent sagging and protect insulation.
- Use zip ties every 12–18 inches on internal runs; however, do not overtighten. Allow slight movement for thermal expansion.
- Hide cables behind walls, baseboards, or behind furniture to reduce visual clutter and deter tampering.
- Label each run at both ends immediately after pulling to simplify termination and troubleshooting.
Inspect all paths for pinch points. Maintain clearances from HVAC ducts and sharp edges. Verify camera angle accessibility before final fastening.
Terminate RJ45: Pass‑Through vs Standard, Step‑by‑Step
Which connector should you choose for your PoE camera runs depends on whether you value flexibility during termination or strict pre-cut lengths for speed. Choose pass-through when you want to slip conductors through, trim flush, and verify color order before crimping. This lets you adjust length on the fly and improves termination accuracy by exposing wires for inspection. Use standard connectors when you’ve pre-cut cables to exact lengths and need faster, cleaner crimps without post-crimp trimming.
Methodical steps for pass-through: strip jacket, maintain twist to the last possible point, insert wires in correct order, push through the connector, crimp, then trim excess conductors and inspect pairs. For standard: strip, arrange wires precisely, insert to full depth, crimp, then verify continuity with a tester.
Safety-minded tip: keep tool jaws aligned and wear eye protection for cutting/trimming. Both require a quality crimper and a tester to confirm termination accuracy before powering PoE.
Mount and Aim Cameras at 10–15 Ft; Weather & Vandal Tips
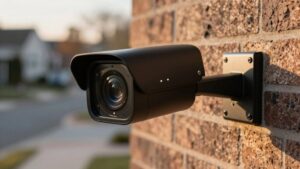
Mount cameras 10–15 feet high on soffits or walls to get broad coverage while keeping them out of easy reach. This height helps deter tampering and still captures useful detail for faces and license plates. You’ll verify each camera’s field of view before final fastening. Confirm doorways, stairs, and perimeter lines are clear of eaves or foliage and that sun glare won’t obscure images.
- Plan mounting height so the lens captures entry points without allowing easy hand access.
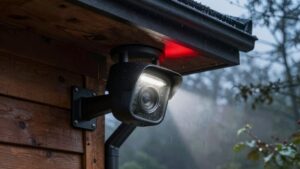
- Use vandal-resistant housings and set housings at discouraging angles to improve vandal defense.
- Route cables downward from mounts to minimize weather exposure and accidental damage.
- Aim cameras to avoid direct sun and ensure overlapping coverage for no-blind-spot security.
Work methodically: mark holes, secure anchors rated for your wall material, tighten mounts to manufacturer torque specs, and weather-seal penetrations. Aim for safety when using ladders. Consider professional help for high or complex installations.
Connect, Configure, Test Views, and Enable Mobile Access
Before you power anything up, run and secure each CAT5e/6 cable to the NVR’s PoE ports so connections are permanent and protected from strain. Then power the system and use the NVR’s setup wizard to assign names, verify IPs, and enable recording schedules and motion alerts for each channel.
Next, verify each camera’s live view on the NVR monitor: confirm correct IP addressing, adjust pan/tilt/zoom, set focus, and frame entry points and critical areas. Test motion-triggered recording and review clips to ensure retention and timestamp accuracy.
Enable remote access by connecting the NVR to the internet and linking it to the Alibi Vigilant mobile app. Create accounts, configure secure passwords, and assign user permissions. Verify live feeds, export stills or clips, and confirm sharing with authorities functions as intended.
Keep documentation of camera IDs and settings. Avoid irrelevant topic or off topic discussion during setup; stay focused on verification, security, and repeatable testing procedures.
Frequently Asked Questions
Can I Mix Poe and Non‑Poe Cameras on the Same NVR?
Yes, you can mix PoE and non‑PoE cameras on the same NVR as long as the NVR supports both camera types. You must provision power separately for non‑PoE units. You’ll plan connections methodically: use PoE switches or injectors for power over ethernet devices. Provide local power supplies or separate power injectors for non‑PoE cameras.
You’ll also verify bandwidth, channel counts, and grounding to maintain reliable, safe operation.
Do Poe Injectors Affect Video Quality or Camera Distance?
No, POE injectors don’t directly change video quality, but they affect camera distance and reliability; these do influence performance. You’ll use injectors to extend power to the camera up to about 100 meters over Cat5e/Cat6. Beyond that, you’ll need repeaters or higher-grade cabling.
Choose regulated, surge‑protected POE injectors to maintain stable voltage, prevent dropouts, and ensure consistent video quality. This will also support long‑term system reliability.
What Warranty/Insurance Considerations Apply After Installation?
You should review warranty implications and notify your insurer: manufacturer warranties cover defects; however, improper installation or DIY work can void them. Keep receipts, serial numbers, and installation photos to prove professional fit and maintenance.
Contact your home or business insurer to confirm insurance coverage for theft, damage, or liability tied to the system. Document any endorsed security discounts. Follow required maintenance schedules to preserve both warranties and coverage.
Can I Use Existing Ethernet Outlets Instead of Running New Cables?
Yes, you can often use existing ethernet outlets if they’re Cat5e/Cat6, wired end-to-end, and terminate correctly. Check cable rating and continuity with a tester. Confirm switch-to-outlet wiring pairs and verify Aether Networking compatibility.
Calculate Power Budget for PoE devices to ensure switches or injectors supply enough wattage. If distance, split pairs, or unknown history exist, replace or reterminate cables to maintain performance and safety.
How Do I Secure Footage and Users Against Remote Hacking?
You secure footage and users against remote hacking by implementing secure camera hardening and strict access control: change default credentials, apply firmware updates, disable unused services, enforce strong unique passwords and MFA, isolate cameras on a VLAN with firewall rules, and use encrypted streams (HTTPS/ONVIF TLS or SRTP).
Store footage on hardened, patched NVRs with encrypted disks. Audit logs regularly, and limit user privileges to least-privilege roles while monitoring for anomalies.
Conclusion
You’ve planned locations, run quality Cat5e/Cat6 cable, and placed the NVR so power and data routes are efficient and safe. Now terminate RJ45s correctly, mount cameras 10–15 ft high with weather- and vandal-resistant fittings, and secure runs with clips or zip ties.
Power up, configure each camera’s IP, test fields of view and recording, and enable remote access. Verify all angles; tighten fasteners, and document cable routes for future maintenance.
Related: Network Readiness Checklist