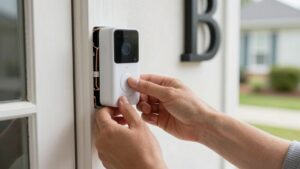
Placing Motion Sensors to Reduce False Alarms
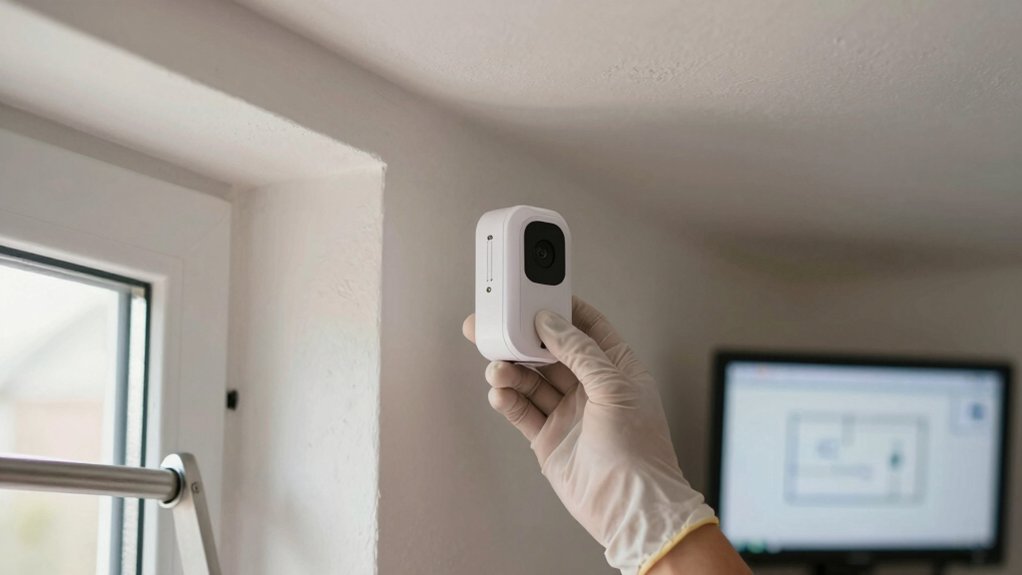
Mount indoor sensors 6–8 feet high in room corners or along hallways aimed at entry paths and stairs to get broad, overlapping coverage and avoid blind spots.
Mount outdoor units 8–10 feet with a slight downward tilt toward walkways and drives; never point at open sky, busy roads, or trees. Keep sensors away from vents, direct sun, and moving foliage. Enable pet‑immune modes, clean lenses, and run walk tests. More setup and tuning tips follow.
Placing Motion Sensors to Reduce False Alarms: Mount indoor sensors 6–8 feet high in room corners or along hallways aimed at entry paths and stairs to get broad, overlapping coverage and avoid blind spots. Mount outdoor units 8–10 feet with a slight downward tilt toward walkways and drives; never point at open sky, busy roads, or trees.
Quick Overview
- Mount sensors 6–8 feet high and angle them down toward expected paths to optimize infrared detection and reduce tampering.
- Place sensors in corners aimed at entryways and hallways to create broad, overlapping coverage and minimize blind spots.
- Avoid pointing sensors at vents, windows, moving foliage, busy roads, or reflective surfaces that cause thermal or motion false triggers.
- Use pet-immune modes, sensitivity tuning, and physical barriers to prevent triggers from pets, curtains, or HVAC drafts.
- Test detection with walk tests at different times. Clean lenses, and document final positions and settings for consistent maintenance.
Quick Fixes to Stop Motion-Sensor False Alarms
Looking to cut down on motion-sensor false alarms quickly? Start by checking sensor placement and immediate environmental factors. Mount sensors at 6–8 feet for optimal range and tamper resistance. Ceiling mounts offer 360° coverage if the layout demands it.
Reposition units away from vents, radiators, and direct sun to eliminate thermal-triggered events. Verify the field of view isn’t obstructed by furniture, curtains, or indoor plants. Re-map positions to maintain clear sightlines while preserving indoor aesthetics.
Enable pet-immune or weight-threshold modes when small animals circulate. Test settings by walking typical paths to confirm reliability. Inspect and replace weak batteries promptly; low battery life can degrade sensitivity and cause spurious alarms.
After adjustments, run scheduled walk-tests at different times to capture temperature and lighting variances. Document final locations and configuration settings so you can replicate them across similar rooms and minimize repeat false-trigger troubleshooting.
Where to Mount Motion Sensors Indoors (Corners, Hallways, Stairs)
Where should you mount indoor motion sensors to get reliable coverage with fewer false alarms? Mount motion sensors in corners facing doorways at 6–8 feet to exploit the widest viewing angle and minimize blind spots. For hallways and stairs, use targeted hallway placement to monitor transit routes where intruders travel.
- Place sensors in room corners aimed at entry paths to create broad, overlapping fields of view that reduce single-sensor triggers.
- Install sensors midway on stair runs or at hallway ends, angled along the axis of movement to detect direction and speed; this improves event validation.
- Maintain 6–8 ft mounting height. Avoid vents, heat sources, and direct sunlight that distort PIR readings and produce false alarms.
Use corner and hallway placements to layer coverage: overlapping beams help the system distinguish true human motion from minor disturbances. Mounting should be precise, measured, and repeat-tested to confirm coverage zones and eliminate nuisance triggers.
How to Place Outdoor Motion Sensors (Approach Paths, Not Open Sky)
Why aim sensors at approach paths rather than open sky? You should focus outdoor placement on approach paths: doors, driveways, walkways, and gates. This way, sensors detect humans before they reach entry points and avoid sky or glare-induced false positives. Mount sensors 8–10 feet high and angle them slightly downward toward the path to optimize PIR coverage and limit horizon exposure. Do not point them at busy roads, trees, or reflective surfaces.
| Placement element | Recommendation |
|---|---|
| Target area | Approach paths (doors, driveways, walkways, gates) |
| Height | 8–10 ft |
| Angle | Slight downward tilt toward path |
| Avoid | Open sky, busy roads, trees, reflective surfaces |
| Verification | Pair with camera or verification sensor |
Install with firm mounting and secure wiring to resist tampering. Test the detection zone at night and day; walk typical approach vectors and adjust the angle to ensure reliable human detection while minimizing nuisance alarms.
Prevent False Triggers: Heat, Windows, Pets, and Landscaping
How can you keep everyday heat sources, sunlight, pets, and landscaping from turning your motion sensor into a nuisance? Place sensors away from HVAC vents, radiators, and direct sun to prevent infrared fluctuations that cause false alarms. Use pet-immune models or set motion sensitivity and weight thresholds so household animals don’t trigger the system. Aim sensors to cover approach paths; do not cover moving foliage or curtains. Also, avoid pointing them at fans or reflective surfaces that create transient heat or shadow artifacts.
- Positioning: Mount sensors off the direct line of windows and heat sources. Angle to exclude plants and curtains while maintaining door or window coverage.
- Configuration: Lower motion sensitivity or enable pet profiles. Test detection zones to confirm pets and small movements are ignored.
- Maintenance: Keep lenses clean; remove nearby clutter and trim landscaping that protrudes into detection paths to maintain consistent readings. This helps to minimize false alarms.
Test, Tune, and Maintain Your Motion Sensors (Checklist)
Ready to confirm your system’s reliability? Start a checklist that defines testing frequency: quarterly for residential, monthly for high-risk areas. Verify coverage of entry points, hallways, and stairways by walking prescribed paths while logging detection and noting gaps.
Check sensor alignment visually and with system diagnostics; adjust mounts until beam patterns overlap without creating hot spots. Tune placement to reduce false alarms: keep outdoor sensors away from high-traffic road corridors and direct sunlight. Set indoor units 6–8 feet high to optimize infrared detection and minimize triggers from small objects or pets. Use corner placements to maximize coverage and eliminate blind spots near doorways.
Maintain sensors on a schedule: clean lenses, remove cobwebs, and inspect for vibration or loose brackets. After any adjustment, rerun the detection walk test and record results. Document each maintenance action and testing outcome to establish performance baselines and inform future tuning decisions.
Frequently Asked Questions
How Do Motion Sensors Differ Between PIR and Microwave Technologies?
PIR and microwave motion detection differ by sensing principle and sensor classifications. PIR detects infrared radiated heat changes, offering low power and good pet immunity. However, it has limited coverage and slower response. Microwave emits and radiates radio waves; it detects Doppler shifts for higher sensitivity, wider coverage, and better through-material detection, but it has a higher false-alarm risk.
You will choose based on the environment, required range, immunity settings, and combining both (dual-technology) to balance sensitivity and reliability.
Can Motion Sensors Be Integrated With Smart Home Routines?
Yes, you can integrate motion sensors into smart home routines. With motion integration and routine automation, you’ll configure triggers (PIR or microwave events) to start actions: lights, cameras, HVAC, or notifications.
Use your hub or platform API to set sensitivity thresholds, time windows, and device priorities to avoid loops. You’ll map sensor IDs to routines, test edge cases, and log events for diagnostics so automation stays reliable and minimizes false activations.
Do Wireless Sensors Suffer From Interference With Wi‑Fi or Bluetooth?
Yes, wireless sensors can experience interference; however, many issues stem from interference myths rather than inherent flaws. You’ll see collisions when devices share crowded 2.4 GHz bands, especially with poor RF channelization or overlapping channels.
Use separate channels: 5 GHz for Wi-Fi where possible. Ensure proper antenna orientation and repeater placement. Conduct site surveys, monitor RSSI and packet loss, and firmware-update sensors to mitigate practical RF coexistence problems.
Are There Privacy Concerns With Camera-Based Motion Sensors?
Yes, you should consider privacy concerns with camera-based motion sensors. You’ll need to manage data retention, access controls, encryption, and on-device camera analytics to minimize raw video transmission.
Configure analytics to extract silhouettes or metadata instead of full images; anonymize faces, and log access. Also, verify compliance with local laws, post clear notices, and limit storage duration. These steps reduce privacy risks while preserving effective detection.
How Long Do Motion Sensors Typically Last Before Replacement?
Typically, motion sensors last 3–7 years depending on sensor type and usage. Passive infrared sensors often reach 5–7 years; however, active and camera-based units can wear faster.
Battery replacement intervals vary: coin-cell units may need new batteries every 1–2 years, AA/AAA every 6–18 months, and hardwired models only need occasional backup battery swaps. Track motion sensor lifespan and log battery replacement intervals to schedule proactive maintenance and avoid failures.
Conclusion
You’ve now got the practical steps to cut false motion alarms: mount indoor sensors in corners, hallways, and above stairs. Aim outdoor sensors along approach paths, not at open sky. Avoid direct sun, HVAC vents, and reflective windows. Use pet-immune zones and proper landscaping.
Run the calibration, walk-test, and maintenance checklist regularly. Implement these placements and tests, and you’ll considerably reduce nuisance triggers while keeping detection reliable and predictable.
Related reading: Home Security Hub Placement — a closer look at this topic.