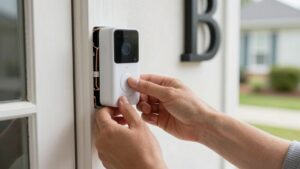
Door Window Sensor False Alarms Troubleshooting
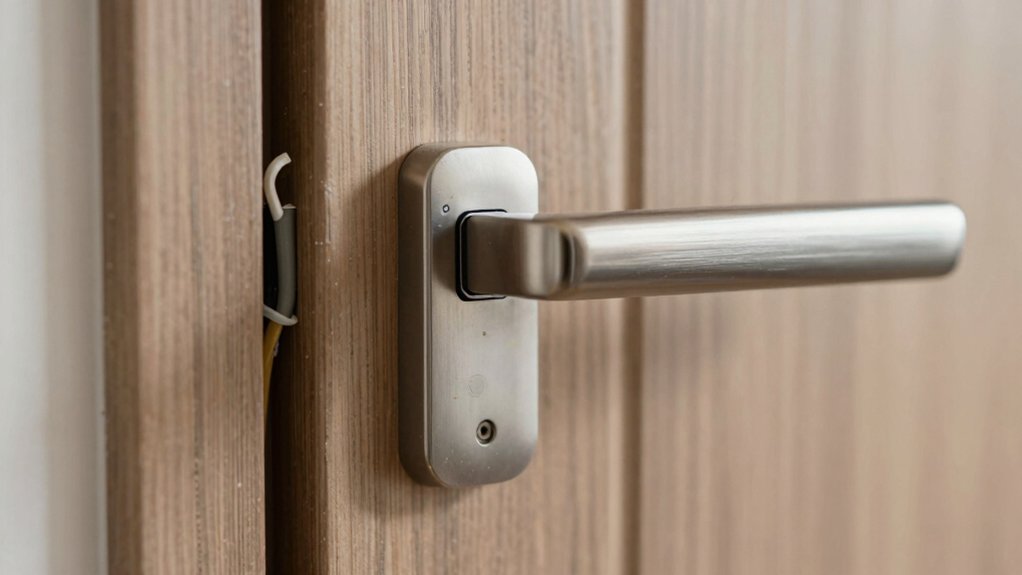
You’ll stop most false alarms by checking that the sensor and magnet are present, correctly oriented, and tightly mounted so the magnet centers over the reed switch. Measure the gap with the door closed and aim for about 1/4″ (6 mm).
Tighten hinges or use thin shims/spacers to eliminate wobble and re-test multiple open/close cycles. Inspect rollerball/hinged contacts and batteries or wiring. Replace faulty units or upgrade to encrypted models if problems persist; more troubleshooting steps follow.
Door Window Sensor False Alarms Troubleshooting: You’ll stop most false alarms by checking that the sensor and magnet are present, correctly oriented , and tightly mounted so the magnet centers over the reed switch . Measure the gap with the door closed and aim for about 1/4″ (6 mm).
Quick Checklist to Stop Door/Window Sensor False Alarms Now
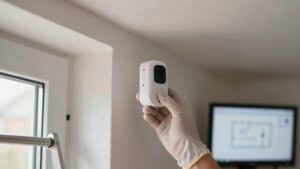
Want to stop false alarms fast? Start with a focused, methodical checklist. Verify the magnet and transmitter are both mounted on the door/window and haven’t shifted; misplacement is a primary cause of misreads. Confirm arrows/notches align and the magnet is centered over the reed switch location so the sensor registers closed.
Measure the gap: if it exceeds 1/4 inch, adjust positioning or tighten the frame. Any movement when closed can create intermittent opens. Inspect door/window stability and frame hardware for looseness that creates variable gaps.
If alignment and stability are correct yet alarms continue, replace the sensor with an encrypted model such as Surety IQ Mini or PowerG Wireless to reduce false triggers. Ignore unrelated topic tangents and marketing gimmicks; focus strictly on alignment, gap, and mounting integrity.
Execute each step in sequence and re-test after every adjustment to isolate the root cause efficiently.
How Sensors Detect Open/Close (Why Gap Size Matters)
How do door/window sensors tell your system whether an opening is closed or open? You rely on a transmitter (contact) and a magnet: when they’re aligned and the magnetic gap is within the specified range (typically ≤ 1/4 inch), the reed switch stays closed and the zone reads “closed.” If the gap grows past that threshold, the reed won’t actuate reliably; this can cause faults or false alarms.
Test and observe methodically. Install the contact on the frame and the magnet on the moving sash. Use spacers on metal frames to preserve sensor alignment. For a conservative verification, separate contact and magnet by at least 1 inch to confirm the “open” state registers.
Monitor seasonal frame movement: expansion or contraction can increase the magnetic gap over time and produce drift.
| Item | Action |
|---|---|
| Sensor alignment | Mount contact and magnet flush |
| Gap spec | ≤ 1/4 inch for reliable sensing |
| Test method | 1 inch separation for open state |
| Mitigation | Add spacers; re-align periodically |
Check Sensor and Magnet Presence, Orientation, and Markings
After confirming gap size and alignment, verify that both the transmitter (contact) and magnet are actually present and correctly oriented on the door or frame. Missing or shifted parts are a common source of false alarms. Check sensor placement first: ensure the transmitter hasn’t detached or moved during adjustments. Confirm the magnet is mounted on the moving leaf and the sensor on the fixed frame unless installation specifies otherwise.
- Inspect markings: locate arrows/notches and the reed-switch indication; position the magnet directly across from the sensor marking.
- Verify magnet alignment: keep arrows/notches facing each other and within a thumb’s width when closed to maintain reliable operation.
- Recheck after adjustments: any movement of either component reduces tolerance and raises false-alarm risk.
Follow markings to center the magnet over the reed switch. Accurate sensor placement and magnet alignment preserve maximum usable gap and reduce drift or intermittent alarms over time.
Measure and Restore the Magnetic Gap
Curious about whether the sensor is reading the door correctly? Measure the magnetic gap with the door closed and the magnet seated against the sensor body. Use a feeler or ruler; the gap should be about 1/4 inch (≈6 mm). If the gap exceeds 1/4 inch, the zone can fault and send open alerts even when closed.
Inspect reed alignment next: Confirm the magnet centers over the intended reed switch location and that the sensor and magnet remain in contact path when the door moves. Do not rely on approximate placement; small offsets break reliable closure.
Reattach components, reducing the gap and rechecking operation. If misalignment persists after secure reattachment, replace the transmitter or magnet (for example, Surety IQ Mini or PowerG types) to restore correct sensing. After replacement, verify the magnetic gap and reed alignment again before finalizing the repair.
Align Arrows/Notches: Exact Checks to Stop False Alarms
Want to stop intermittent faults caused by poor alignment? Check the alignment marks methodically: align arrows on the transmitter and magnet so they face each other, and match the notches alignment to ensure repeatable closure. The goal is proper sensing through precise magnet reed alignment. Even small offsets reduce the usable gap and increase false alarms over time.
Follow these exact checks:
- Visually align arrows and verify notches alignment are directly opposite when closed.
- Center the magnet over the reed-switch mark; shift until the switch actuates consistently.
- Close the door/window and open repeatedly to confirm consistent contact without tolerance drift.
If any step shows intermittent closure, remount components so marks are true-to-true. Do not accept “it works sometimes.” Consistent proper sensing prevents drift. Retest after adjustments; if misalignment persists, revisit mounting or fasteners before moving to rollerball or hinged-metal contact tests.
Test Rollerball and Garage Contacts (Hinged/Metal Doors)
How do you verify a rollerball or hinged-metal contact is causing false alarms? Start by opening the hinged door at least 3 inches to force the rollerball to move and trigger the zone. If the system registers an open, the contact is responsive. Inspect rollerball movement visually and by hand; confirm the ball rolls freely and isn’t obstructed. This is basic rollerball maintenance.
Measure the gap between the rollerball housing and frame: it must be within 1/8 inch. If the gap exceeds 1/8 inch, add thin spacers or adjust the door to reduce the clearance. Check mounting security on the hinge side; loose screws allow intermittent contact. Verify hinge alignment so the rollerball engages the frame squarely each close cycle.
For wired systems, repeat the open/close test while watching the panel or zone LED to ensure consistent state changes. Log tests and adjustments; repeat until the contact reliably reports closed when the door is shut.
Fix Wiring, Batteries, and App/Device Faults
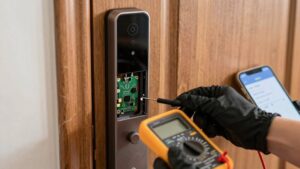
After you’ve verified rollerball and hinged-metal contacts mechanically, check wiring, batteries, and any app/device reports next. These electrical and firmware issues are common causes of persistent false alarms. Start by confirming wiring faults: inspect visible runs for breaks, corrosion, or pinched insulation and verify terminal screws are tight. For wired sensors, measure continuity and correct polarity; a floating input will report open.
For wireless units, perform battery checks: replace old cells, reseat contacts, and use manufacturer-specified types to avoid voltage sag.
- Test signal and logs: review the app issues and device faults history for repeated open/close events, low-battery flags, or RF interference indicators.
- Rebind and firmware: if logs show spurious events, rebind the transmitter to the panel. Update firmware and observe behavior for 24 to 48 hours.
- Replace when necessary: persistent false alarms after these steps warrant hardware replacement with encrypted models (e.g., Surety IQ Mini or PowerG) to eliminate device faults.
Use Spacers and Door/Frame Fixes for Weather or Movement Issues
Noticing seasonal shifts or a rattling frame? Use spacer placement and targeted door/frame fixes to eliminate gaps that trigger false alarms. Inspect the sensor-to-magnet gap at multiple points; weather and frame wobble commonly open that gap beyond tolerance.
Add adhesive spacers behind the sensor or magnet to re-establish alignment, keeping the gap at or below the recommended 1/4 inch maximum. If the frame wobbles, tighten hinges, shims, or strike plates to remove play before relying solely on spacers.
After each adjustment, cycle the door or window open at least 1 inch to verify the sensor and magnet re-align and register correctly. Recheck spacer placement seasonally; thermal expansion and settling can reintroduce misalignment.
Use thin shims rather than bulky packing to avoid stress on mounts. If alignment holds through several cycles, document spacer locations and torque settings for future reference. This methodical approach minimizes false positives due to weather or movement without replacing hardware.
When to Replace Sensors or Call a Professional
If you’ve checked spacer placement, tightened hinges and strike plates, and verified alignment through multiple cycles, but the sensor still reports an open, the problem is likely hardware failure. You should replace the unit or call a professional. You’ll want to escalate when magnet position, gap troubleshooting, and installation alignment have been ruled out.
- Choose replacement options: Surety IQ Mini Door/Window Sensor ($20) for basic encrypted wireless operation; PowerG Wireless Door/Window Sensor ($44) for extended range and robust encryption.
- Validate compatibility: Confirm radio protocol and encryption match your hub; document orientation and mounting before removal to ensure correct reattachment.
- Seek professional assistance: Contact a Smart Home Specialist or certified installer if you suspect wiring issues, antenna placement problems, or if replacement requires system re-enrollment.
Replace failed units to prevent recurring false alarms. If you’re unsure, get professional assistance to secure proper mounting, encryption pairing, and system diagnostics.
Frequently Asked Questions
Can Pets or Insects Trigger Door/Window Sensor False Alarms?
Yes, pets or insects can cause false triggers. You should check sensor placement, sensitivity settings, and mounting gaps to reduce movement-induced activations. Use tamper‑resistant mounts and adjust detection thresholds where available.
Seal gaps and use brushes or foam to block insect ingress near magnetic contacts. Log incidents to identify patterns and test after changes to confirm reduced false triggers and consistent, reliable operation.
Can Nearby Magnets or Strong Electromagnetic Fields Cause False Triggers?
Yes, nearby magnets or strong electromagnetic fields can cause false triggers. You’ll see magnet interference with reed or hall-effect sensors; strong fields can alter switching thresholds.
Electromagnetic noise can induce spurious signals in wiring or circuitry. To diagnose, measure field strength, relocate magnets, add shielding, or replace with immunity-rated sensors. Use twisted-pair or shielded cable and ferrite beads to reduce noise. Confirm stability before final installation.
Do Temperature or Humidity Shifts Affect Sensor Sensitivity?
Yes, temperature and humidity shifts can change sensor sensitivity. You’ll see mechanical components expand or contract, altering alignment and magnet gaps. Moisture can affect reed/contact resistance.
Thermal drift also impacts motion sensing electronics and may exacerbate power supply interference, causing baseline shifts or false triggers. Mitigate this by using humidity-rated sensors, thermal compensation or calibration, sealing enclosures, and stabilizing power with proper filtering and regulated supplies.
Will Door/Window Paint or Metal Filings Interfere With the Magnet/Reed Switch?
Yes, heavy paint build-up or conductive metal filings can interfere with door magnets and reed switches. Paint increases separation and nonmagnetic thickness; this reduces magnetic flux and potentially prevents reed closure.
Metal filings can create shunts or change field paths, causing erratic behavior. You should clean surfaces, remove filings, and keep paint thin near sensor faces. Measure the gap and field strength after remediation to confirm reliable switch operation.
How Do Firmware Updates or Hub Settings Cause False Alarm Behavior?
Firmware quirks and hub misconfigurations can make sensors report false alarms by mismatching debounce, polling, or signal thresholds. You’ll see spurious triggers when firmware changes timing, ignores magnet state hysteresis, or mishandles edge detection.
Misconfigured hub settings, like aggressive sensitivity, incorrect device type, or duplicate device IDs, amplify the issue. You should update firmware cautiously, verify release notes, reset to known-good settings, and audit hub configurations to isolate and fix the problem.
Conclusion
You’ve now got a targeted sequence to stop door/window sensor false alarms: confirm both sensor and magnet are present and oriented correctly. Measure and restore the magnetic gap; align any arrows or notches precisely. Test rollerball and garage contacts, and fix wiring, batteries, or app faults.
Use spacers or minor frame fixes for movement or weather issues. If problems persist after these checks, replace the sensor or call a qualified technician to avoid recurring false trips.
Related reading: Incident Response Checklist — a closer look at this topic.